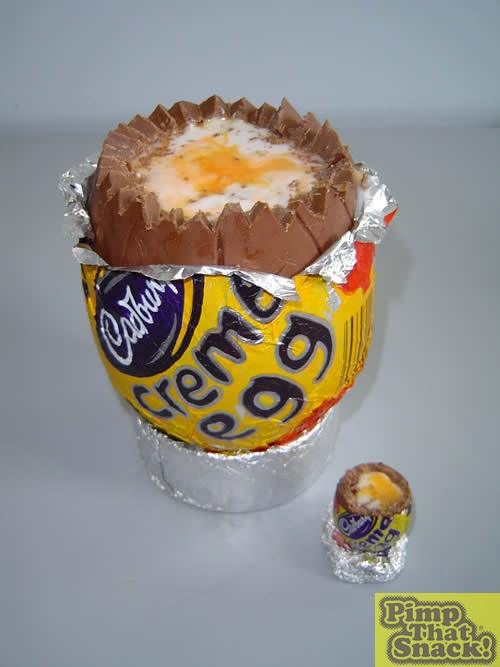
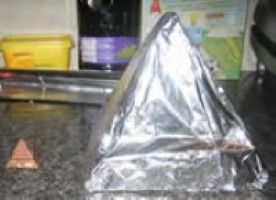
P.P..P…Pimp That Chilli Choc Penguin
Ingredients
2 –3 tsps Mild Chilli Powder for that extra (chocolat) kick…!
250g Margarine
250g Self-Raising Flour
100g Soft Brown Sugar
2 tsp Spiced Chocolate Powder (Chilli, Cardamom, Ginger, Cinnamon)
1 1/2 Packets Bourneville Chocolate Frosting
450g of Dark Cooking Chocolate
& a few sheets of baking parchment

1. Mix together the sugar, margarine, flour, chocolate powder and a few pinches of chili powder…

2. Get very sticky hands in the process, a fiance is helpful at this point to add extra flour when needed, to get the mixture of your hands..!
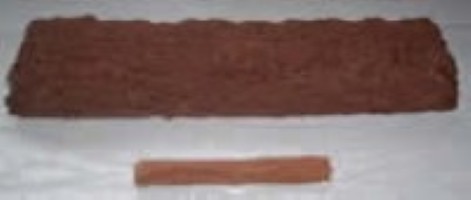
3. Roll out the mixture onto baking parchment as it sticks like buggery to a chopping board, or worktop, even with flour down…also it’s very flimsy when it’s so thin, so breaks apart easily…Bake in the oven for about 20 minutes gas mark 5 or 6, and leave to cool…the freezer works very well when you need to save time…

4. Spread as much chocolate frosting as you can over one half of the biscuit I managed to get nearly two packets in there…

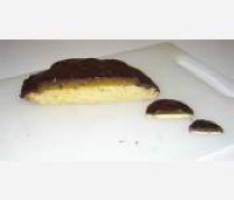
5. Carefully place the top half of the biscuit on top, and press down…I found using two chopping boards the best option for this (even pressure)…then trim off the excess filling and put into the freezer again for 15 mins or so…

6. Melt the cooking chocolate over a pan of boiling water and add a few extra ingredients (chili powder)…believe me, it tastes great…

7. Cover the biscuit sandwich with the chocolate, and add in that ‘Penguin’ pattern if you can…then chuck it back into deep freeze to harden off…

8. Remove from the freezer and flip upside down in preparation for the base…

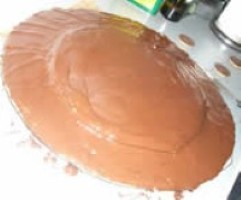
9. Apply more chocolate and smooth off to a plastered wall finish. Then back into the freezer for 20 mins to harden off fully…

10. Then rush over to your computer, and Photoshop up a nice big wrapper to place it into…I used glossy photo paper for the authentic look… then sit back and admire your handy work…

11. Take it along to a Pimp That Snack Party, wow your friends, un- wrap, cut for the obligatory cross section, and walk away with the first prize, and a smug smile…Then munch on it for the rest of the night, along with all the other large snacks, and feel ill in the morning…

12. Daddy!!!