Wheat Crib
About this build
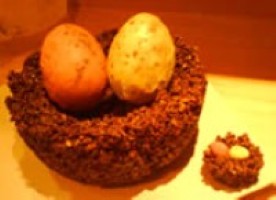
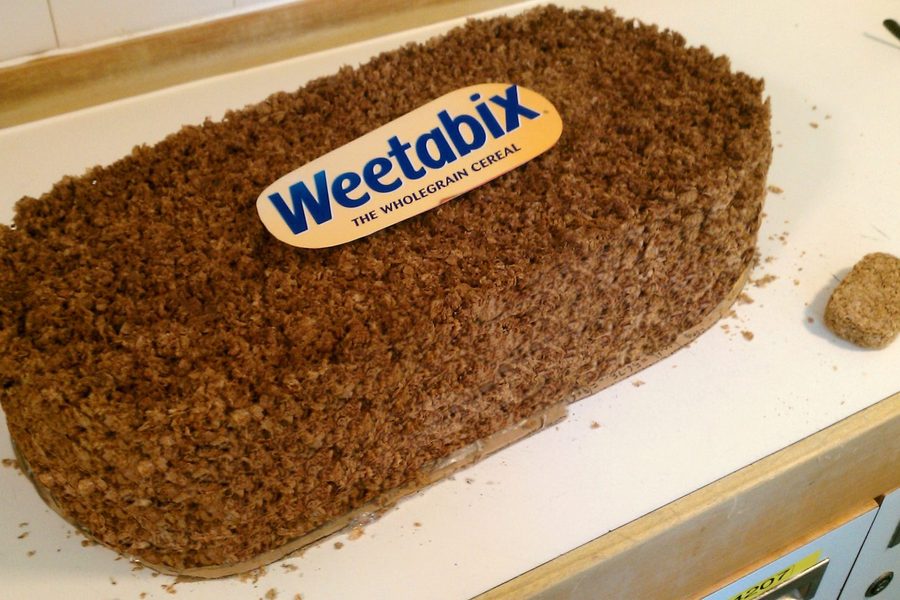
Crumbled Shredded Wheat, chocolate and golden syrup form a giant bowl-shaped nest, decorated with icing-covered Easter eggs.
Archive summary updated
Read the original account and photographs ↓
What the original account establishes
These notes distinguish the recorded result from quantities or settings the contributor did not specify. Follow each source link to the original passage.
- The ingredients are simply shredded wheat, chocolate and golden syrup. The chocolate was 8 bars of 200 g, or 1.6 kilos, broken by hand and melted in a bowl over boiling water; the cupcake case was homemade from greaseproof paper and sticky tape because real ones were overpriced. 27 Shredded Wheat were crumbled by hand, coated in the melted chocolate, and nearly a whole 454 g tin of golden syrup was stirred in until the mix had the consistency the account compares to a cow pat. The nest set in the fridge over 3 hours. With no Easter eggs in the shops in August, 100 g of mini eggs and a few larger, possibly out-of-date eggs were rolled in the leftover chocolate to enlarge them, which barely worked, then iced in thick coloured icing to look like mini eggs and stuck on while still slightly soft. The account puts the nest at 14 times the volume and 36 times the weight of a regular one. Source 1 · Source 2 · Source 3 · Source 4 · Source 5 · Source 6 · Source 7 · Source 8 · Source 9
Notes from the contributor
Selected passages from the original account. Quantities may describe shopping, tests or the final build; follow the linked passage for its full context.
Here we are making the mother of all Easter time treats, the shredded wheat nest. The ingredients are quite simple, shredded wheat, chocolate and golden syrup.
Read in context →
Archive guides · Explore projects
The original account
Here we are making the mother of all Easter time treats, the shredded wheat nest. The ingredients are quite simple, shredded wheat, chocolate and golden syrup.

First thing we did was to melt the chocolate, for this we used our hands to break it up and then placed it in a bowl over boiling water until it was all runny and gooey! The quantity used was 8 x 200g bars or 1.6 Kilos of chocolate, not a small portion at all!

Now, to house that beast of a nest we fashioned our own cupcake case as real ones were hugely overpriced. The simple use of greaseproof paper and sticky tape works a treat.

Whilst the chocolate was melting the next job was to break up the main ingredient the shredded wheat, again hands were used and we used 27 shredded wheat biscuits/bars/thingies, there’s 2 quid gone just like that!

Once the chocolate had all melted it was added to the shredded wheat mess which now looked like something you place in a rabbit hutch, and we stirred until all the crumbly mess was completely covered.

To make the nest not just solid chocolate and straw, nearly a whole 454g tin of golden syrup was added and stirred in, so that the mess now looked like something that comes out of a cow, and we ain’t talking milk!

Once the correct consistency was reached ie a cow pat, it was placed in the fridge to cool and let the chocolate set.

To help with the finish and to help the boredom of waiting for this to happen, being students a nap was essential followed by diagnosis murder! 3 hours later the nest was set.
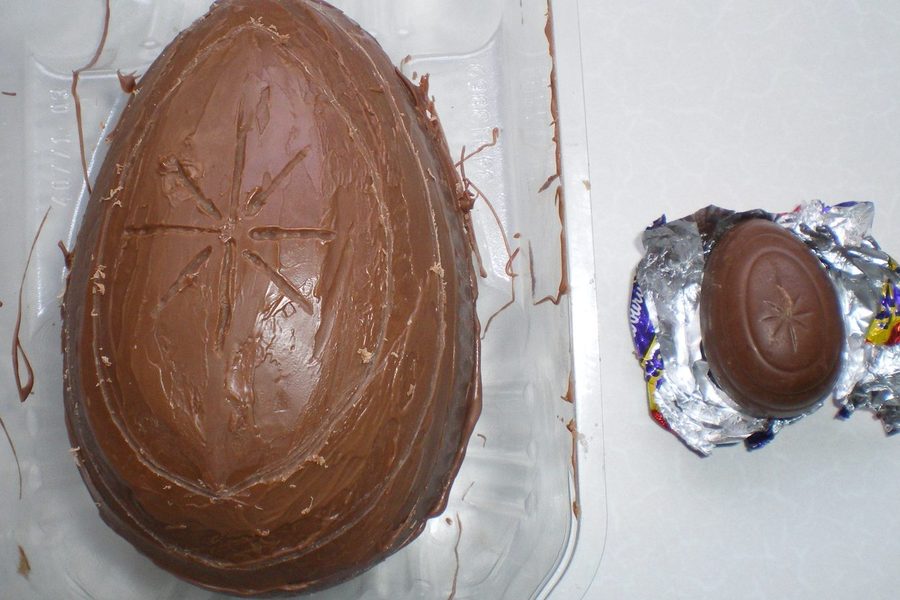
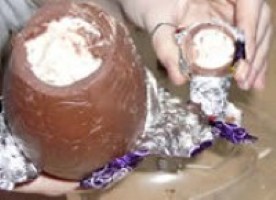
No nest is complete however without eggs, one problem with this is the fact that in august not a lot of shops stock any kinds of chocolate egg, however the trusty sweet shop came to our help so 100g of mini eggs were purchased, along with some slightly larger eggs which could possibly be out of date, but definitely could be pimped! The pimped mini eggs were constructed by rolling them in the gooey chocolate multiple times in an attempt to make them bigger.

Let these set in the fridge for a bit, then find out, they don’t get much bigger, but there’s more melted chocolate to eat, so it’s ok.

Then once nice and hard, proceed to icing them in different colours to simulate the mini egg look. Use lots of icing sugar to get a good thick, crispy layer and food colouring of your choice to get that authentic feel.

Again, go back to the fridge to help solidify the icing.

Now the fun of putting it all together! After setting the nest in the bowl we tried to put it in our homemade case but it was crumbling so we shoved it in the case, then into the bowl and back to the trusty fridge to keep the shape.
Finally, when the not so mini eggs are still a bit squidgy, stick them onto the nest in a decorative fashion, and voilla! The pimped up nest is complete!

Now for the science bit,
Nest volume is 14 times bigger than regular boy scout nest and 36 times heavier, what a beast!!