Mahoosive Milkybar
When my friend had asked me to make him a ‘Milkybar’ cake for his birthday, I don’t think he was expecting me to take him quite so literally. He was expecting your run of the mill Victoria sponge with a bit of White Chocolate frosting…. Little did he know, a mission was brewing; a mission to make a MAHOOSIVE MILKYBAR CAKE!! So, my first port of call was to get some inspiration from the only place I felt necessary, the place where pansy pastry chefs hail their pimp elders, where else but PIMPTHATSNACK.COM?? With their knowledge fresh in my soul, I started gathering the equipment I needed to succeed.
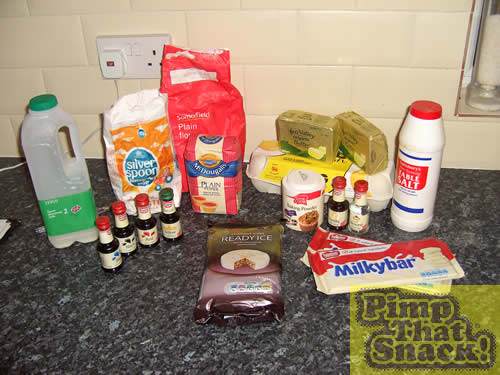
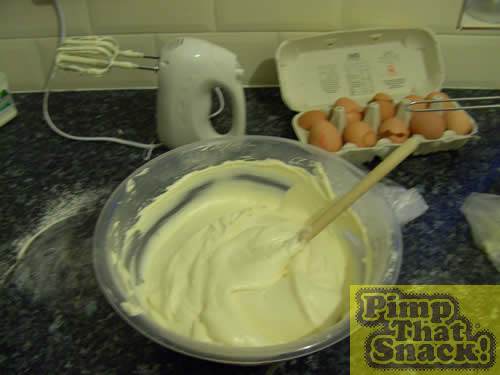
Now, with my wooden spoon ready and my ingredients measured out, I cracked on. First I had to make the cake sponge, the support for the MAHOOSIVE MILKYBAR. I got the recipe from an American wedding cake website, so I had to convert the measurements and the names they use into something that made more sense. With the batter now made, poured into the 12” Springform cake tin and now baking, filling my house with that gorgeous ‘Cake baking’ smell, I proceeded to do what every person naturally does, I licked the spoon, and I wasn’t ashamed.
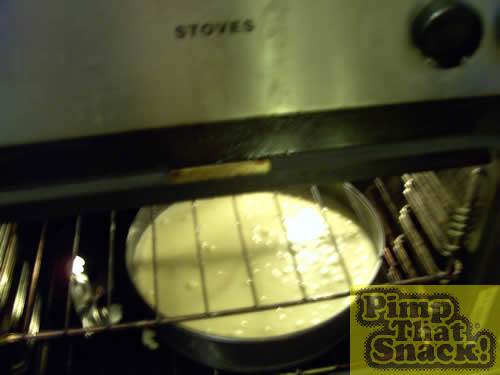
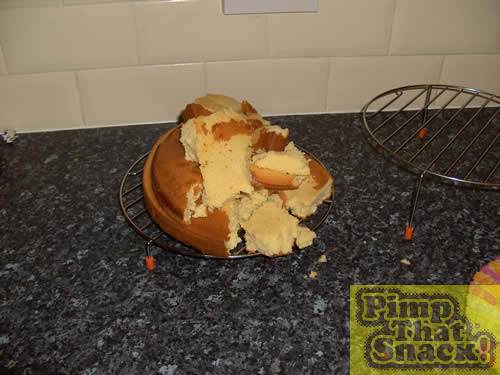
Time to take the cake out, this here part of my quest is where I make my first regret: Do Not buy a cheap cake tin without expecting something to go wrong! I grabbed it to take it out of the oven and the bottom popped out. The cake was on the floor. I was not happy but it didn’t stop me.
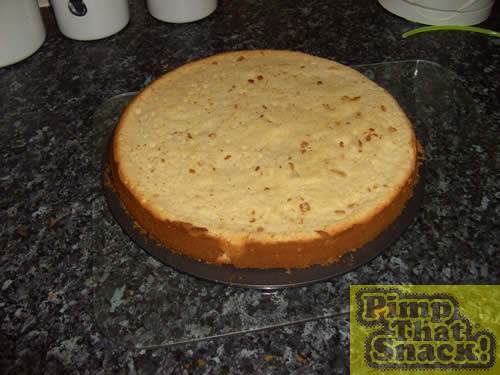
I made the cake batter again, licked the spoon again and here we are, a cooked cake, in one piece, cooling. A sigh of relief exited my lungs!
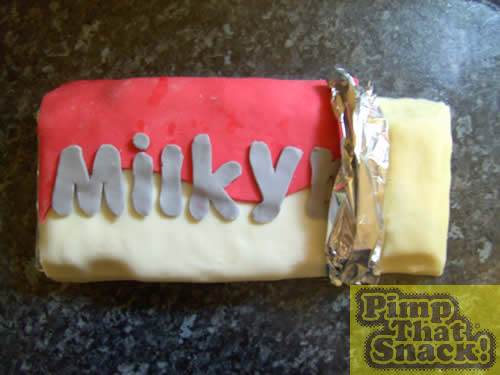
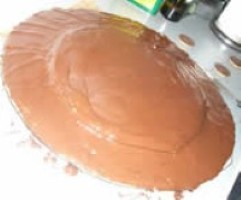
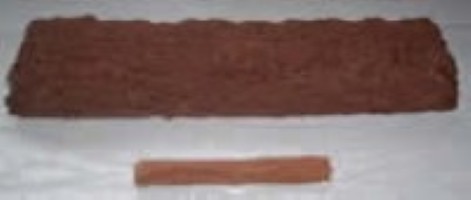
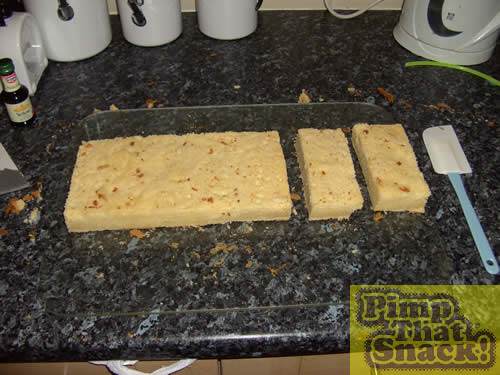
When the cake was cool enough, I sliced the skin off the top and shaped it, ready for icing. I wanted to make the cake to look like it had been unwrapped slightly with some of its chocolate exposed. I melted down 2 big bars of milkybar, added a bit of butter to soften it up into a dough, which I rolled out and put on the cake, covering it’s nakedness.
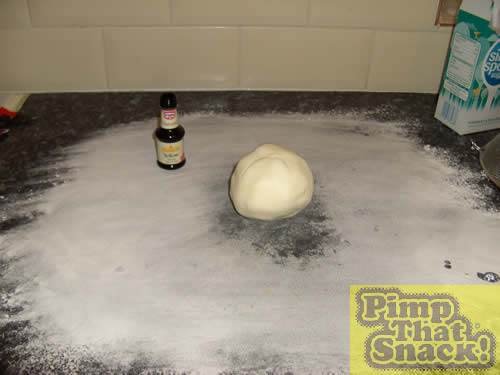
Now, with my chocolate covered cake setting, I started with the wrapper icing! First, I just want to point out, colouring Fondant Icing is one of the biggest challenges I faced in this project, so big in fact that I’d say I could have ran the marathon with less struggle. So, 45 minutes and half a bottle of Yellow colouring later, I had my first later of the wrapper and I whacked it one the cake. Next was a red layer, again with the same colouring troubles but it was on! I printed an enlarged version of a real Milkybar and cut the letters out to make stencils for mine. Now, I know that the writing is supposed to be navy blue but I settled for a hard earned dark grey instead.
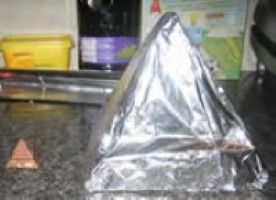
Lettering on, foil applied and I was finished. I’d done it, the mission was over. It was enjoyed my many and was all gone before you could say: MAHOOSIVE MILKYBAR!!