Massive Easter Egg
About this build
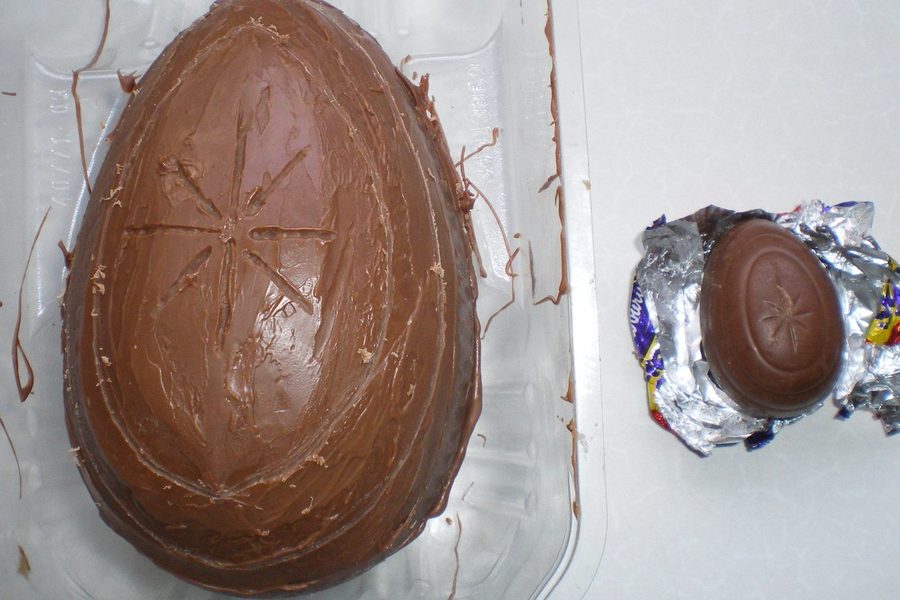
Giant milk and white chocolate Easter eggs are formed in custom plastic moulds made over a homemade wooden shape.
Archive summary updated
Read the original account and photographs ↓
What the original account establishes
These notes distinguish the recorded result from quantities or settings the contributor did not specify. Follow each source link to the original passage.
- The moulds are 40 cm by 20 cm egg halves with embossed logos, made for a scout network of 17.5 to 25 year olds who wanted a Pimp That Snack night. A wooden former was smoothed with plasticine and placed in a vacuum former, which melts a thin plastic sheet over it and sucks it down; two moulds were needed, and the logos came from thick cardboard mock-ups laid on the former first. The eggs were built by cleaning and lightly oiling the moulds, melting chocolate in a bain-marie, spooning and spreading a layer, setting it in the fridge and repeating until the shell was 0.5 cm to 1 cm thick; the white chocolate seized, was eaten, and the egg continued in milk chocolate. The halves were joined by melting the edges with a hot knife or a small blowtorch. Costs given: 1.5 kg of chocolate at about £7, 6 hours making moulds and 2 to 3 hours making eggs, food-grade thermoplastic at £0.50 a sheet, and a £2000 vacuum forming machine the writer suggests borrowing. Source 1 · Source 2 · Source 3 · Source 4 · Source 5 · Source 6 · Source 7 · Source 8 · Source 9 · Source 10 · Source 11 · Source 12 · Source 13 · Source 14
Notes from the contributor
Selected passages from the original account. Quantities may describe shopping, tests or the final build; follow the linked passage for its full context.
A former is a mold for making a mold, if that makes sense…
Read in context →
Fed up with those tiny super market chocolate eggs? I made some 40cm by 20cm egg molds with embossed logos.
Read in context →
Archive guides · Explore projects
The original account
Fed up with those tiny super market chocolate eggs? I made some 40cm by 20cm egg molds with embossed logos.
My network (scouts for 17.5 to 25yr olds) decided they wanted to do a pimp that snack themed night so I said I would make them massive egg molds as Easter was coming up.
Part 1 making the molds:
I made a wooden former (Can you tell what it is yet?)
A former is a mold for making a mold, if that makes sense…

I then covered the wooden former in plasticine to smooth it all off.
I placed this into a machine called a vacuum former, which melts a thin sheet of plastic over a former and sucks it down around it to copy the shape.

This was then my finished mold.
I would need 2 molds one for each half of the egg, I also added logos to the molds; you can just about see them in some of the pictures. These logos were added by placing thick cardboard mock ups of the logo on top of the former before vacuum forming.

Part 2 making the eggs:
Clean the molds then lightly oil with cooking oil.

Melt the chocolate using a bain marie.
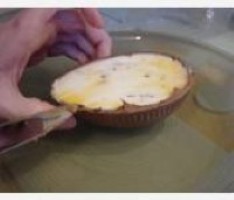
Spoon a layer of melted chocolate into a mold and spread it all around the mold.


Place mold back into fridge and let it set.
Keep adding layers of chocolate and replacing in the fridge to set until you’ve used all your chocolate or have made the egg thick enough. Our egg was 0.5cm to 1cm thick in places.
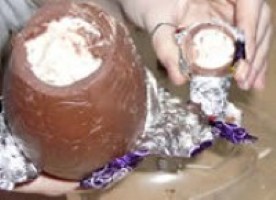
Here we had a disaster with the white chocolate, I think we over cooked it as it started to go solid again…… so we ate it! Carried on with milk chocolate – a bit like a backwards kinder egg!
Carefully prise the chocolate egg from the mold.

Take each half and melt the edges together with a hot knife or small cooking blow torch.
SMASH and enjoy!

Cost:
Chocolate: 1.5kg about £7 if you don’t use fancy expensive chocolate.
Time: 6 hours making molds, 2-3 hours making eggs
Food grade, high density polyester thermoplastic for vacuum forming: £0.50 a sheet (1 sheet per mold)
Vacuum forming machine: £2000 – might want to borrow one of these like I did!
Overdosing on chocolate: Priceless 😀