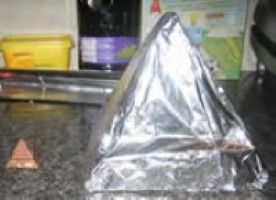
Giant Mallomar
What you will need:
Double boiler
Mixer
Large bowl
9 inch Cheesecake pan with removable bottom
Cookie:
1 cup plus 3 tablespoons all-purpose flour
1/4 teaspoon baking powder
1/4 teaspoon salt
4 tablespoons (1/2 stick) cool, unsalted butter, cut into small pieces
1/4 cup solid vegetable shortening (2 ounces)
1/2 cup plus 1 tablespoon sugar
2 tablespoons honey
1 large egg yolk, at room temperature
1 teaspoon vanilla extract
1 cup graham cracker crumbs

Marshmallow:
1 cup water
¼ cup plain gelatin
2 cups granulated sugar
2 egg whites
1 cup confectioners sugar
Cooking spray
Chocolate Coating:
36 ounces (3 bags) of semisweet chocolate chips
Step 1:
Since the weather report said it was going to rain the following day, we decided to start with the marshmallow the night before so that humidity in the air wouldn’t prevent it from rising. We heated up the gelatin, water, and granulated sugar on the stove in a pot until it got thick and goopy. We were nervous of a not so puffy marshmallow so we probably added more gelatin than necessary, but it worked so who cares.

Step 2:
While the gelatin was on the stove, we whipped up the egg whites and confectioners sugar until it was really airy and light, or as my girlfriend, the baker that she is, put it, until the eggs form “stiff peaks”. Then we added the gelatin mixture and mixed it all together to make a sticky marshmallow mess. To keep it from sticking, we lined our bowl with tin foil, coated that with cooking spray, and sprinkled confectioners sugar all along the inside before pouring the marshmallow mixture in. Then we added more sugar on top. We let this sit covered on the counter top over night, and in the morning it was a deliciously hardened 9 inch wide semi-sphere marshmallow.

Step 3:
The following morning, we got started on the cookie. We mixed up the flour, baking powder, and salt, and then separately mixed the butter and shortening, followed by the sugar, followed by the honey, followed by the egg yolk and vanilla extract, and then followed by the graham cracker crumbs. Then with a wooden spoon we mixed in the flour mixture and shaped the whole mess into a ball. This went straight into the fridge for about an hour.

Step 4:
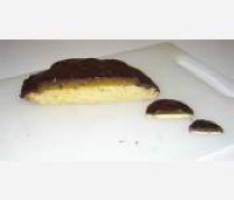
When the dough came out, we simply pressed it down evenly with our hands into a cheese cake pan with a removable bottom that we had. The reasoning for this pan was so that we could easily slide out the cookie part to put chocolate underneath later, and then layer it back up. The cookie went into the oven at 350 degrees Fahrenheit for about 15 minutes, just long enough for it to get a little brown.

Step 5:
Meanwhile, we started heating up about half of the chocolate for the base layer in our makeshift double boiler (a pot with boiling water and a glass bowl above it filled with chocolate chips). When the cookie came out and cooled a little we removed it from the cheese cake pan and proceeded to fill the pan with the melted chocolate.
Then we went out to pick up more chocolate and a box of real mallomars from the store while everything cooled off for a bit.

Step 6:
When we got back, we started heating up the other half of the chocolate chips. In the mean time, we gingerly slotted the cookie on top of the now somewhat hardened base layer of chocolate. We also for the first time plopped out our giant marshmallow onto the top of the graham cracker cookie. It looked marvelous.


Step 7:
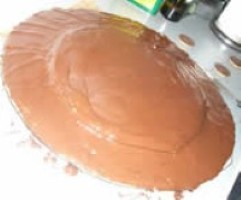
When all the chocolate melted, we proceeded to pour it over top of the marshmallow and cookie, shaping it with a spatula. We removed the ring of the cheese cake pan to allow easier access with the spatula to cover the whole thing. After we were satisfied with the chocolate coating, we put it in the refrigerator to harden.

When it came out, it was a beautifully pimped mega monster mallomar. We realized afterwards that we should have used a blow dryer to smooth out the chocolate coating, but who cares, we were hungry for some pimpage!

In all, this was a fairly simple pimp with very few opportunities for mishaps. However, it left taste testers extremely impressed.