This was a true exercise in pimping madness. Our challenge: to make gold out of nothing more than chocolate and biscuit!
To start, I examined the underpinnings of a genuine gold bar, using an alchemy process (chewing) to break it down into its component parts. After some discussion, we were agreed that the taste was relativly similar to that of Foxes Golden Crunch biscuits and White Chocolate.
A quick trip to ASDA later, and we had the necessary ingredients to begin the pimping process.
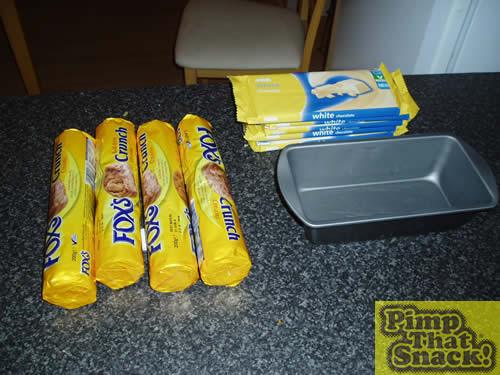
In hindsight, what you see in this picture is a little bit over the top. What you actually need to begin your bouillion is:
5 x 200g Bars of White Chocolate (50p from ASDA per bar)
2 x Packets of Fox’s Golden Crunch biscuits
1 x Medium rectangular cake tin (non-stick!)
Step 1)
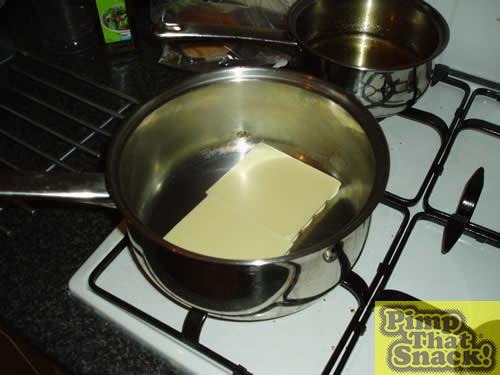
First up, we melted 1 bar of chocolate to use for the top of the bar. At this point, I will let you know that several lessons were learnt during this piming exercise – Lesson 1 – DO NOT use a big saucepan to melt Chocolate on a high heat! This results in a lot of burnt, lumpy, smelly chocolate…
Step 2)
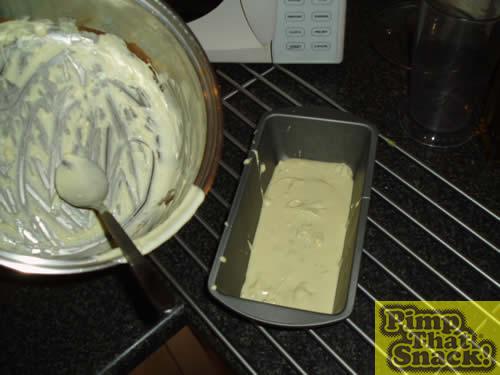
Pour whatever Chocolate you haven’t fried into the base of the cake tin. Stick this in the fridge and leave to set.
Step 3)
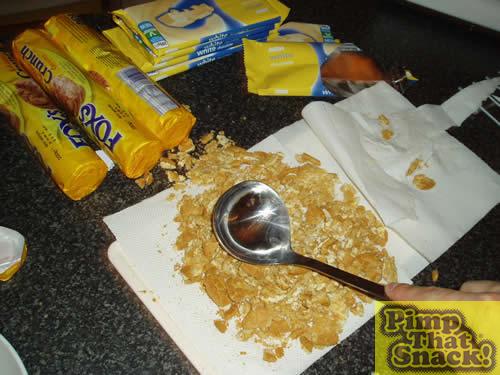
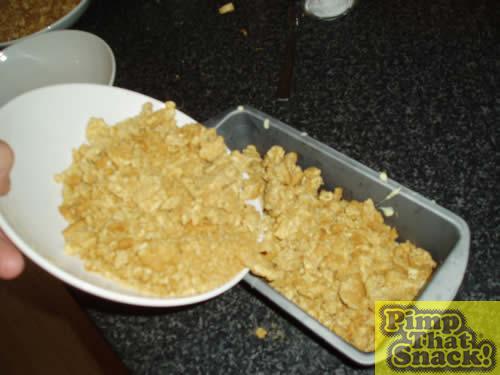
While you are waiting for the first layer of chocolate to set, empty two packets of the biscuits onto a suitable surface. Proceed to bash the absoloute crap out of them with any blunt instrument you have to hand.
Lesson 2 – Attempt to contain the biscuits in something bashable or you’ll end up with a biscuit/floor combination, wasting the creamy-crunchy goodness of Fox’s creations. We found that using a resealable food bag did the trick.
Pour the bashed-up biscuits into the cake tin on top of the set chocolate. Compact these down so that the next layer of chocolate has something solid to sit on.
Step 4)
Next up, melt two bars of chocolate (this time in a smaller saucepan on a low heat!) and pour these onto the biscuit layer.
Lesson 3 – When pimping any snack, make sure you use a photographer who does not get bored half way through.
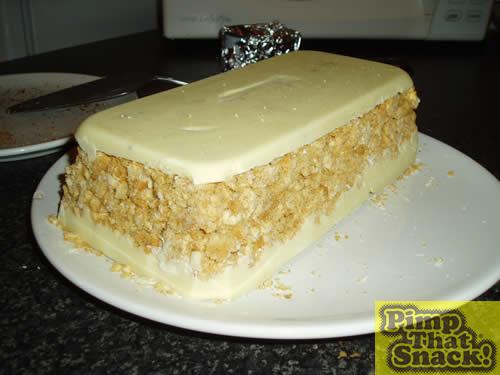
Allow this layer to set in the fridge, then, carefully using a cake slicer, prise the chocolate away from the sides and tip the whole shabangle out onto a plate. At this stage, ours decided to seperate itself from the top layer. However, with some more careful prising, it came out of the tin in one piece and was stuck back on top of the bar.
Step 5)
Here’s where things got a bit tricky, trying to work out how to do the sides. Obviously, melted chocolate would just fall off if we tried to stick it on, so we thought we’d try using whole chunks of chocolate for the effect only.
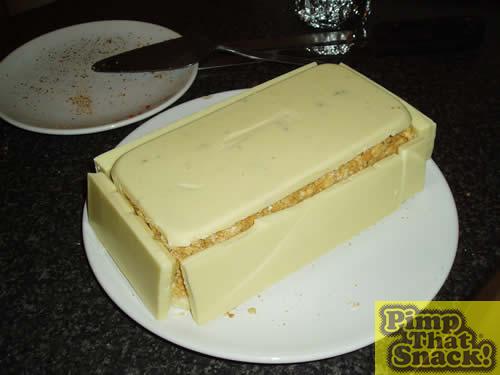
Needless to say, this didnt work, namely because we ran out of chocolate. So we decided to melt it all up and try that anyway. Then, disaster…
Lesson 4 – Water and chocolate do not mix…. or do they??
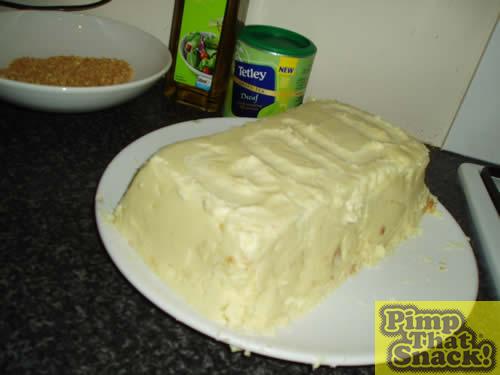
It was about now that someone suggested that you should melt chocolate in a bowl above some boiling water to stop it from burning. This was done, however some of the water got into the bowl, and created a gooey mess. Turned out that doing this created the perfect consistency of chocolate for pasting! So this was done…
After some fettling and detailing, we were finished… and et voila, a super-sized blinged up Gold mo-fo bar!
Okay, so it looks pretty crap, but its calorie count is worth its weight in gold..!
Total Calories – 7390!
Total Fat – 450g

Comments