Nightmare on Pimp Street
Trick or treat? This Halloween horror will leave you screaming for more. Love this seasonal twist on that old childhood fave, the Skullcrusher.
Be afraid. Be very afraid.
Use a spooky skull mask for a mold.
Notes on chocolate: There are two 200g bars in this pic, but I ended up using 5 (not including the one I managed to eat during construction)
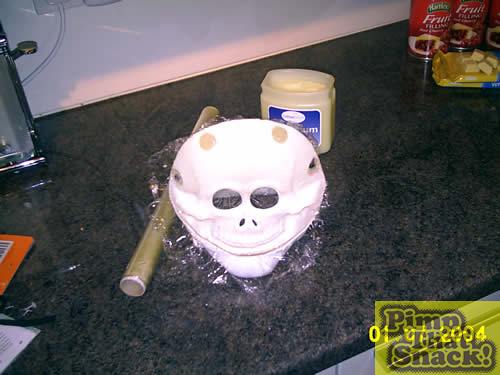
Smear the inside of the mask with some Vaseline and line with cling film. Use the handle end of a pastry brush to work the film into all the teeny tiny grooves.
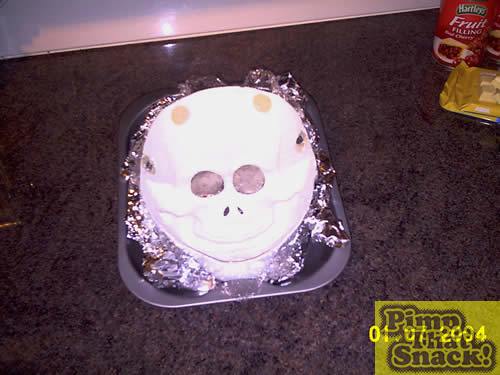
To keep the mold supported as you make the chocolate shell, pop the mask into a roasting pan and prop up with tinfoil sausages, like so.
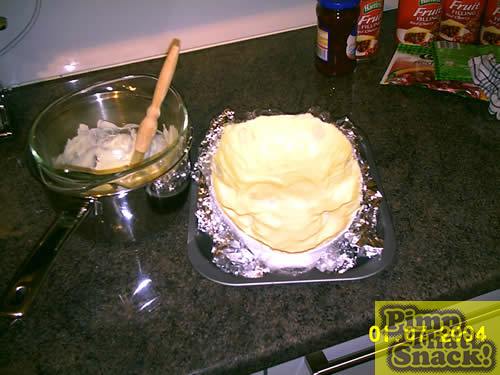
Melt the chocolate one bar at a time in a bowl over a pan of hot water. Spoon some into the bottom of the mask and use the pastry brush to coat the sides with choccy. Put in fridge to set.
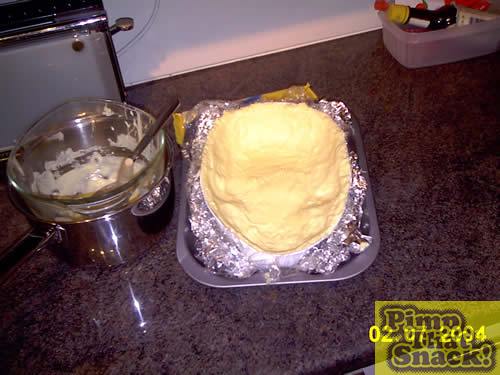
Keep repeating this step 3 until you’ve used 3 bars. That gives you a chance to do lots of important chores during setting times – like watching America’s Next Top Model, having a nice cup of tea or maybe even a wee disco nap.
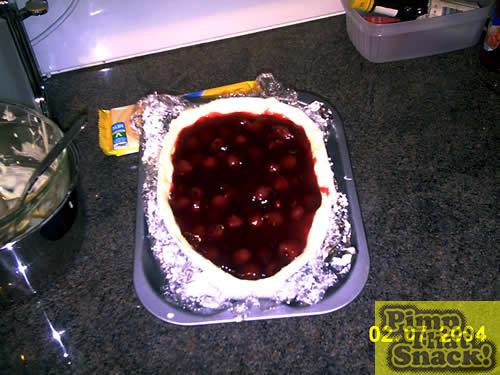
But what horror lies within the giant heid? Many substances were considered for the brain matter (as they say in CSI). Blancmange, jelly, pink butter icing …
But then – oooh my! – cherry pie filling! Carefully fill the mold with 1 tin of gloopy, globby bloodclots. Gruesome!
The next step was considered too horrible to view. Ok, so l lost a couple of pics. It’s the director’s cut – what more can I say?
Make up a pack of quick gel flan glaze according to instructions. Let it cool slightly and, just as it starts to thicken, spoon over the pie filling. Get it straight int’ fridge to prevent warm jelly causing skull fractures and leave to set.
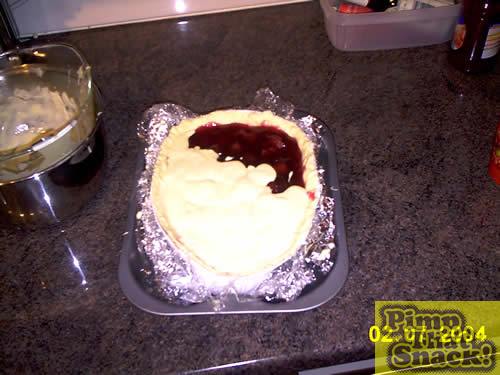
When the jelly is firm, melt more chocolate to cover the base. Use 2 bars for this stage, melting one at a time and letting each layer set in between.
Make sure you seal the choccy round the edge to prevent brain leakage.
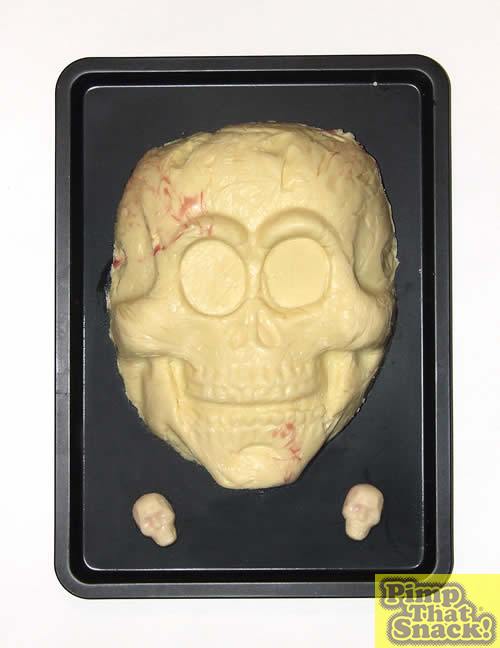
Now turn out on to a plate or tray, remove the mask and carefully peel off the cling film. Ta-dahh – a spook-tacular Skullcrusher!
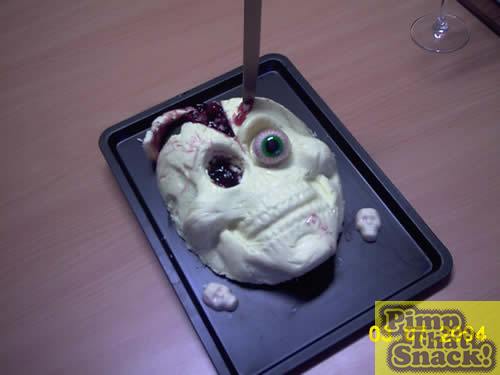
Eeek!