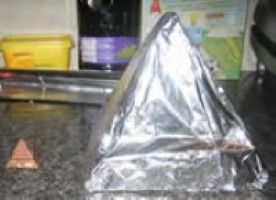
Mega Twix
In recent weeks, we (in our office) have begun taking turns with some pimping of snacks, inspired by the website.
The first was a Pimped Jaffa Cake, followed closely by a Wagon Wheel and a Kit-Kat Chunky… then it was my turn.
Not being totally convinced of my cooking/baking skills, I decided I would try pimping the mighty Twix.
As a ‘Pimp Virgin’, I first had to decide on scale – should I go huge, and potentially unmanageable, or should I just go Big? Then I had to decide how I would actually form these things – should I go the tube/pipe route?
Eventually, I decided upon forming two large fingers, instead of one huge single finger.
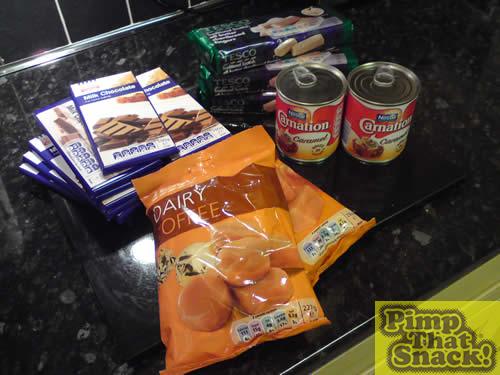
Not being sure of the quantities of ingredients required, I trooped off to Tesco, and filled a basket with the following:
12 Bars of Tesco Milk Chocolate (100g)
3 packets of Tesco Butter Shortbread
1 Bag of Tesco Dairy Toffees
1 bag of Tesco Vanilla Fudge
2 tins of Carnation Caramel (Dulche de Leche)
The total cost of those ingredients came to £9.00.
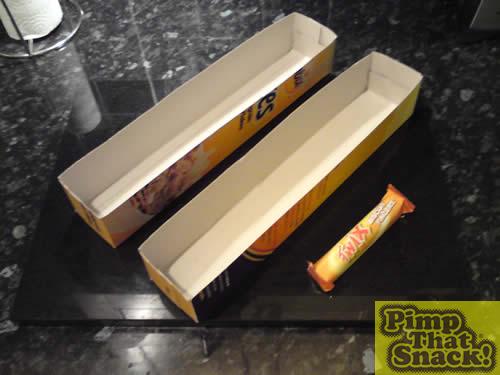
For the moulds, I cut a cereal box lengthways in half, and trimmed then down, and taped the ends to form two rectangular shapes – the sizes being circa 30cm long x 8cm wide. I then lined the moulds with greaseproof paper.
Ok, onto the actual ‘cooking’!!
I started by melting 4 bars of the chocolate over a pan of boiling water. Once fully melted with no lumps, I transferred this over the two moulds, which gave a base thickness of about 1.5 – 2cm.
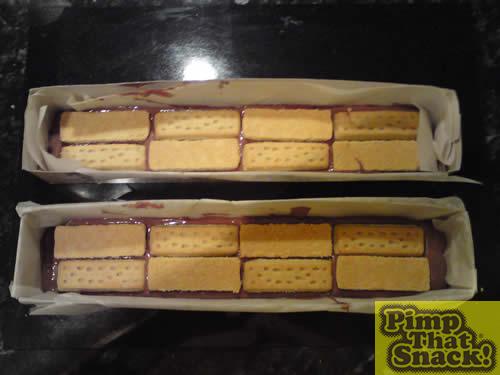
I decided to cheat with the biscuit element of the filling, and rather than spoiling it with rubbish homemade biscuit, I opted to go for ready made shortbread fingers.
While the chocolate was still warm I then layered the shortbread, 2 fingers wide along the length of the moulds – that used 8 shortbread fingers per bar, 16 in total.
The two moulds were then moved to the fridge to chill for a few hours!
Once these had set, I decided to tackle the caramel centre. I wanted to try and achieve the right consistency of caramel, but wasn’t sure who to do it.
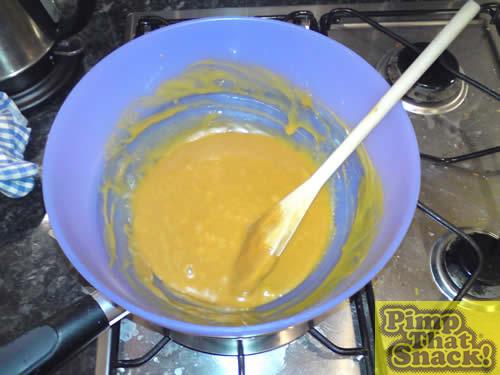
I had read that melted Toffee had a habit turning solid again, so I added some vanilla fudge to the melted toffee, but this still looked to be going a bit too hard for Twix caramel – so I added a few spoons of Carnation Caramel, or Dulche de Leche as it’s otherwise known. This seemed to make a more ‘pourable’ caramel, which was then layered onto the shortbread and chocolate bases.
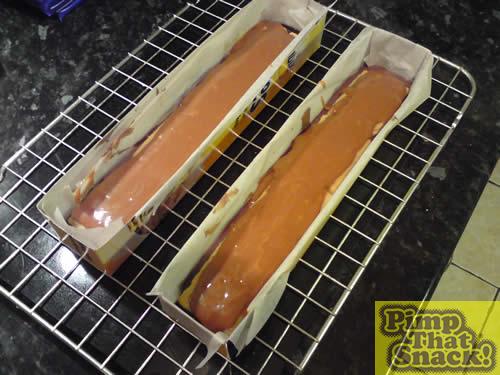
After leaving this to set for an hour or so, it was time to melt another 4 bars of chocolate, for the topping of the Twix bars. Once melted, the topping was added – and once it had started to set, I applied some ‘ripples’ to the chocolate, to give the pattern to the top of the bars.
Then, they were back in the fridge to fully set.
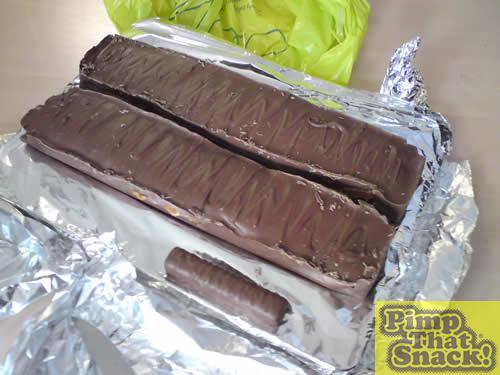
On removal from the fridge, and then the moulds, the bars had turned out a bit more square than intended, but with a bit of fine tuning, I think the correct shaping could be achieved!
Anyway, the Mega Twix was brought into work and cut for sharing – the caramel came out very well – not runny, and not too hard – in fact virtually the perfect consistency!!
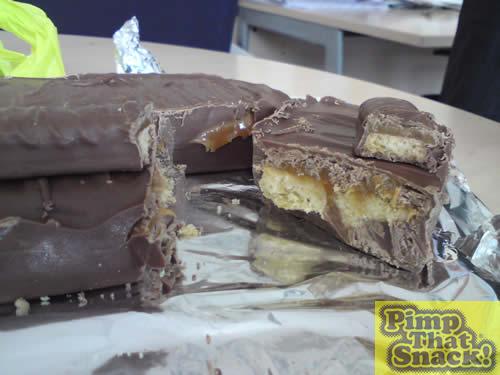
The biscuit to caramel ratio could have been better (too much Biccy), but overall a very good maiden Pimp, if I do say so myself!!