Kit Katastrophic
Ok so it was a typical Saturday morning and as usual we were thinking what to do then all of a sudden it hit us! – What chocolate bar did we both fancy – what website did we both have in mind – Kit Katastrophic was put in motion.
Step one was getting the ingredients – as always there is a Tesco nearby so that’s where we headed.
Ingredients
Chocolate – 4 x 200gram bars
Wafers
A normal Kit Kat Chunky
Total Cost
£2.59

Step two was making the template for the lettering on top. I decided that the cardboard back of a notepad would suffice and after studying very closely the lettering on a KitKat (as you do) I got to work.

Whilst I was doing this my better half was preparing the chocolate for melting – by now our front room was intoxicated with the smell of chocolate and it was clear we were going to have to work fast – this chocolate was in danger of being eaten!
We decided to blue tack the letters into our tin so that it would not only keep them in place but also prevent any seeping underneath.

We got to cutting the wafers, as they were too wide for our tin – a delicate process but one that we managed with our pimping skills
Ok so the chocolate was melted the wafers were cut and the templates were in place – lets get pouring!

After laying a significant amount of chocolate as the top layer we had the next delicate task of placing those wafers in – I stepped aside as this was a crucial part and didn’t want to be responsible for any mishaps – heaven forbid our Kit Katastrophic come into any danger.

We were done – for now – all that was left to do was to put our Kit Katasrophic in the fridge and wait..and wait…and wait

Next morning after a dreadfully fretful, sleepless night it was time to check on our baby – it was ready for extraction!
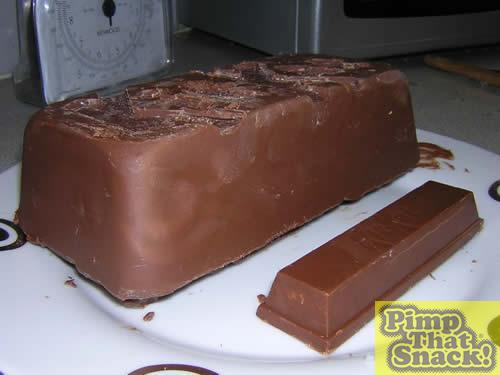
Now this actually turned out to be the most nerve-racking part of the project – after about half an hour of tapping, smacking, shaking and generally beating the tin it was clear that our efforts were going to be fruitless – and then we had a vision – heat! We put the tin in the grill for a few seconds and that was it our Kit Katastrophic was born and what a sight it was.

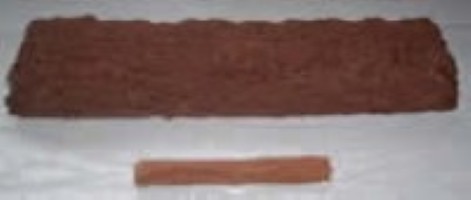
Not content with just seeing the outside it was time to cut our precious pimped chocolate bar in half – not an easy task but well worth it as you can see.

I know what you want to know..did it taste nice? Nice!! It tasted like the best Kit Kat Chunky to ever exist on this earth!! In heaven – I think ive reached Nirvana!!