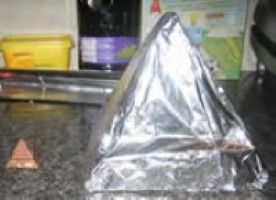
Pimpnic
For generations, the Picnic has been the daddy of the ‘knobbly’ chocolate bar industry. As children, we would marvel at this chewy, gooey, crispy, nutty, raisiny delight, all covered in chocolate. The question has to be, how does a snack this good, end up looking like something out of the wrong end of a dog? I believe they call this its rustic charm. As good as all these ingredients are, another question needs to be asked… How can such a veritable feast only weigh in at a measly 48.5 grams?
Urgent steps had to be taken to right this chocolate-covered injustice.
Enter the Pimpnic!!!

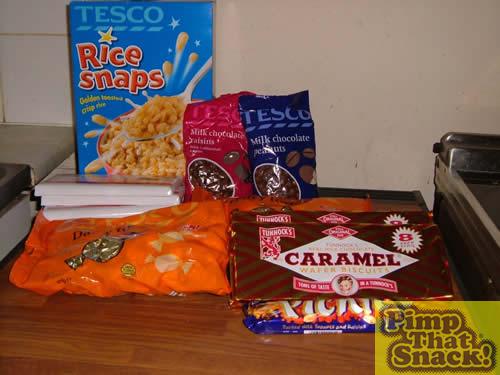
Firstly, you’ll need :
A pack of caramel wafers
Loads of toffee (800g)
Milk chocolate
Rice Crispies
Chocolate-coated peanuts
Chocolate-coated raisins
A Cadbury Picnic for reference
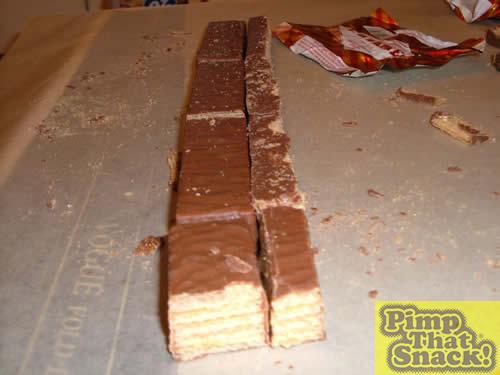
1. Lay out caramel wafers to the size you want. The bigger, the better-That’s the pimp way!!
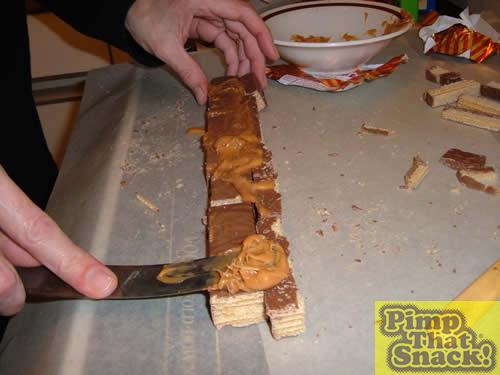
2. Melt some toffee to glue the wafers together. The best way to do this, we found was to give the toffee short bursts in the microwave, stirring continuously. At this point, it would be only fair to mention that chocolate-coated wafers are poor for this part of the recipe. As the hot toffee melts the chocolate, the toffee slides off and doesn’t stick to anything, except to your fingers. This was remedied by pouring loads of toffee onto the wafers.
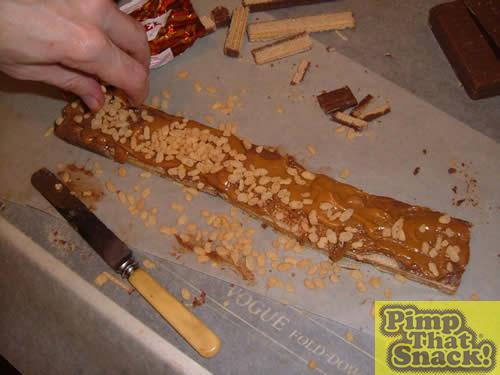
3. Add your first layer of crispy bits and put in fridge. After a short while, it should turn from a wobbly mess into a stiff mess.
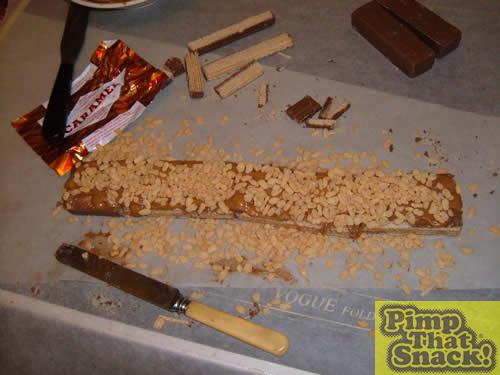
4. Melt some more toffee. Now the crispy bits are in place, the toffee will stick to your Pimpnic easier. By this stage you’ll start feeling justly pleased with yourself.
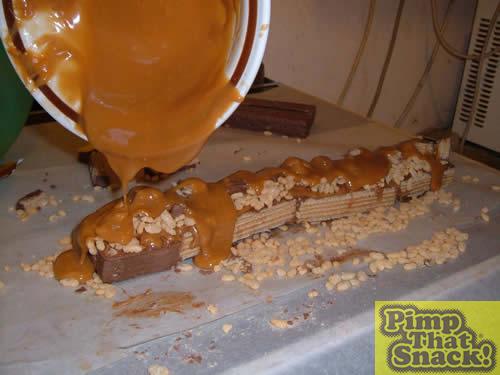
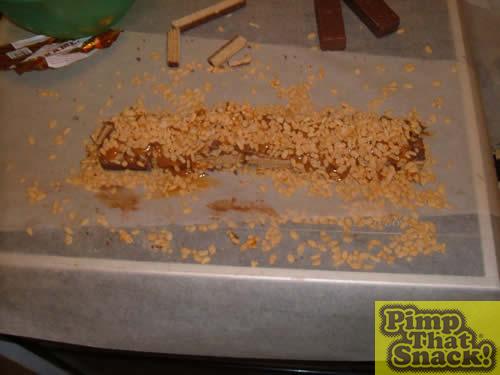
5. Oh no, not more toffee!! Yes, you’ve guessed it. Now it’s time for the chocolate peanuts and raisins. Put back in fridge.
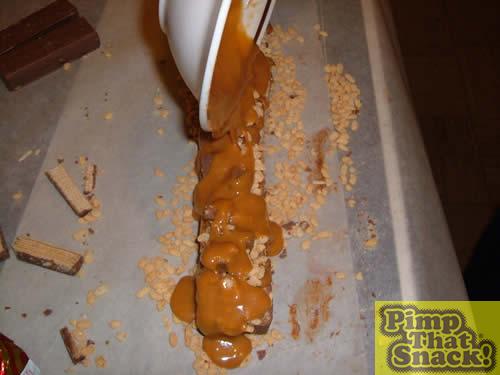
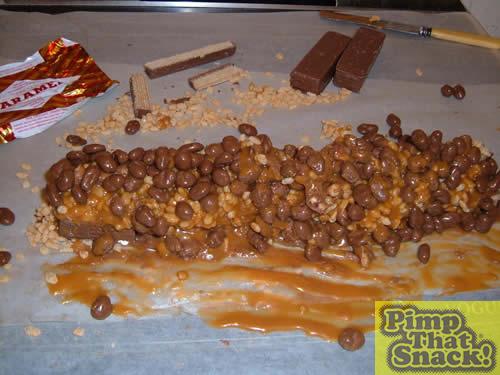
6. Time to melt you chocolate. We first tried the microwave. After narrowly avoiding a Three Mile Island-style disaster, we resorted to more traditional, non-nuclear chocolate melting methods.
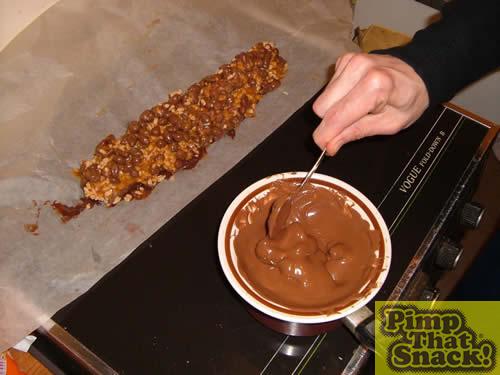
7. Pour your safely-melted chocolate over the Pimpnic. Make sure it is totally covered. And…
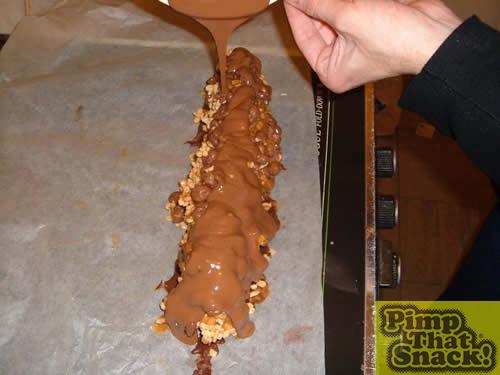
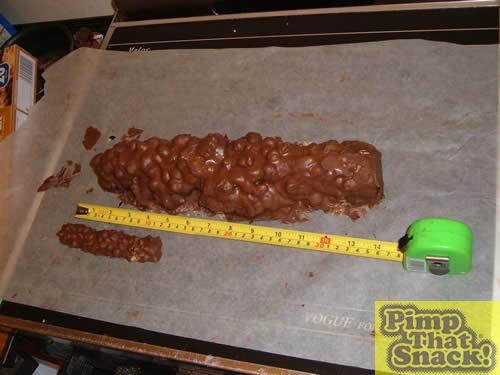
8. Gasp at your creation. As you can see below, we have the wimpnic, and above we have the PIMPNIC.
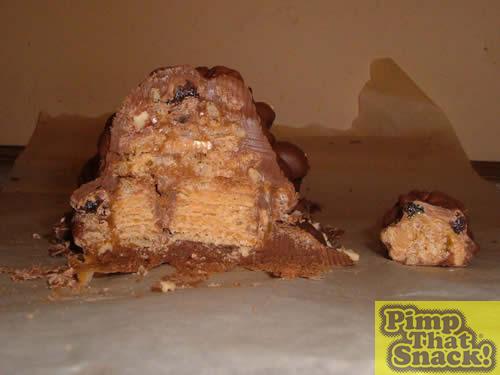
In this cross-section, I think you’ll agree, the Pimpnic truly lives up to its name.
Nuff love to all pimps out there…