Original Curly Wurly

Ingredients:
5 packets of Sainsbury’s toffees
6 packets of Sainsbury’s chocolate
Our first task was to strip the toffees of their bling. We unwrapped all five packets of toffees and put them in a glass bowl ready to be melted. In good ol’ fashion style we placed the bowl over pan of boiling water to prevent the toffee from curdling.


Precision and accuracy are both essential skills for any reputable pimp, so before melting the toffee we used some VERY technical equipment to draw out a template for our curly wurley.

As soon as the toffee started to go gloopy we carefully poured and shaped it into the template, then left it to set. It was too big to fit in the fridge, so it took a good couple of hours before it was back to its original state.


We then melted 4 bars of chocolate in the microwave, giving it a quick stir every 30 seconds.

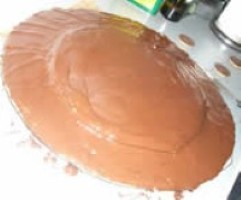
Once the chocolate had melted we poured it over the toffee curly wurley. We found that using a spoon and allowing the chocolate to run gave a more polished finish than using a spatula to “evenly” spread the chocolate.

Once the top coat of chocolate had set we melted the remaining 2 bars, again in the microwave. We then used a pastry brush to apply a thin layer of chocolate to the base of the curly wurly.


Once the chocolate had set a bit, (about 10 minutes later…) we had to print the pattern to the base of the curly wurly – PIMP PERFECTION!
To do this we used a fork to draw the horizontal lines and then a wooden BBQ Skewer to add the vertical lines.


Total length: 102cm