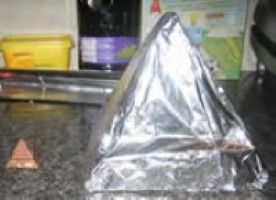
Fistful of Fudge
"A finger of Fudge is just enough to give your kids a treat" sang the woefully out-of-date advert jingle. Kids today won’t settle for a finger of Fudge – it’s got ’15p’ emblazoned on it for a start. It’s the confectionary equivalent of saying, "That’s all I think of you". Is there any wonder 10-year-olds are going for nose jobs and tattoos (not factually accurate but helpful in the context of this rant) so is the depth to which their self esteem has plummeted.
Want to really give your kids, I’m sorry… da kidz a treat? Give ’em a Fistful of Fudge!
Ingredients:
2 x bags of fudge
1 x large bar of chocolate
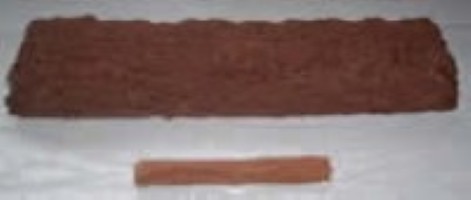
Pack of piffling standard-sized Fudges for reference… pah!

Step One: Mould making. To get the perfect half-circular(ish) cross- section requires a Masters in Paper Engineering from Brunel University – which is lucky as we have! Cardboard is curved and secured into a loaf tin and coated with cling film.
Step Two: Fudgy meltdown. Both bags tipped into a dish are zapped for a minute in the micro and then dolloped into the mould.
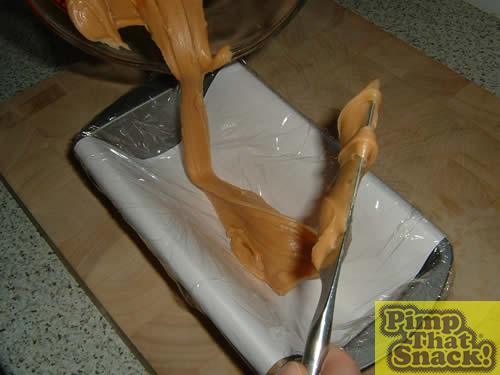
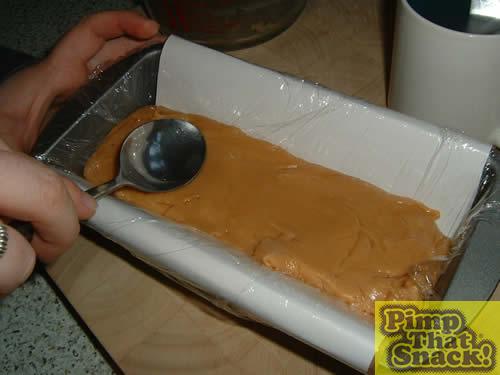
Step Three: The fudge is packed (snigger) into the mould with a hot spoon and flattened on the top so as to create a nice base for the finished bar. The whole thing is bunged in the freezer to set.
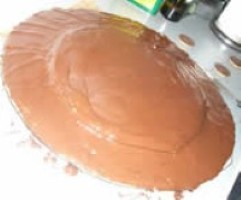
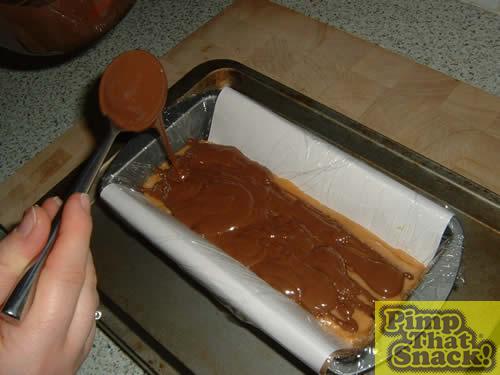
Step Four: A thin layer of chocolate is applied onto the set fudge and again is flattened and smoothed. Back into the freezer.
Step Five: The turn-out. The loaf tin is removed from the freezer and breaths are held as it is coaxed from the mould and flipped upside down onto the base.
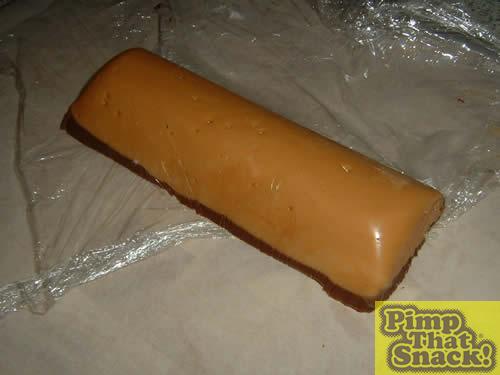
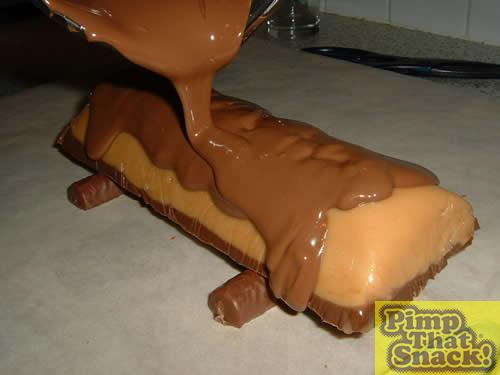
Step Six: Get your coat! The bar is propped up onto a couple of standard fudges (they’ve got to be useful for something) in order to raise it up for chocolate coating purposes. A layer of molten chocolate is poured over and then carefully spread so as to completely coat the fudge bar. As it cools texture is applied by drizzling a thin stream of chocolate over the top. Back in the freezer for the final cooling period.
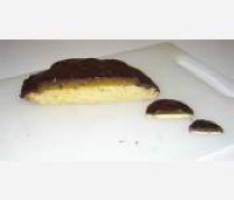
Step Seven: Kapow! Ever been hit in the face with a log sized chunk of fudge? You have now! All that remains is to cut an end off and inspect it’s fudgy interior…