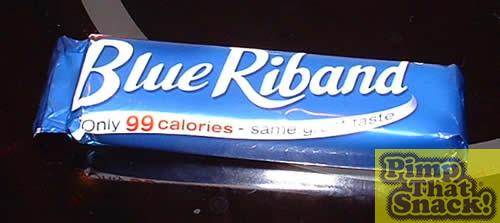
Project target – a super pimped up Blue Riband
After spending an afternoon pondering over how my favourite snack is constructed, I finally discovered it is more than just a few layers of wafer with a chocolate covering. It is in fact constructed using thin layers of chocolate in between the wafers! Now to make it big…
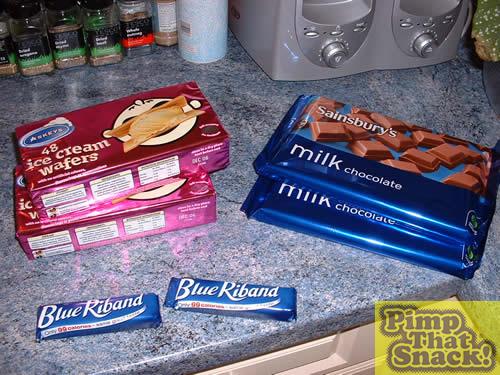
Ingredients
2 x 400g bars of milk chocolate
2 x packs of wafers
Equipment
Grease proof paper
Bread tin
Spatula
Pyrex bowl
Saucepan
Fill the saucepan half full with water, turn the heat up and put the Pyrex bowl in. Now break off 16 cubes of chocolate, separate and put in the bowl. The hot water will heat the bowl up nice and gently and melt the chocolate. Do not eat any of the chocolate piggles – you will need it all!
The key to melting the chocolate is to keep it moving and heat it slowly. Otherwise the stuff will separate out and dry up. Never get it so hot it is bubbling like a volcano, pour it once it is runny like cream.
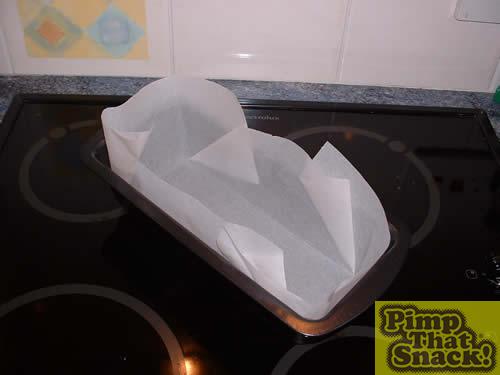
While the chocolate is melting prepare your bread tin with some grease proof paper. Using the ancient Japanease art of origami, fold it into a clever box shape and put it in the tin. The neatly folded box shape will create the nice neat edges and flat surfaces on the bar.
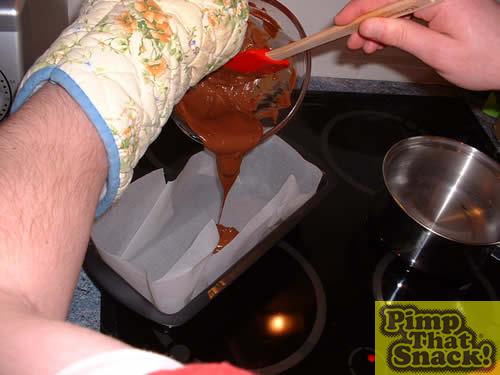
Pour the melted chocolate into the tin and smooth out using the spatula. Now start melting some more chocolate. And repeat. After the second layer is down, you should revert to a single chocolate layer regime.
Whilst the second batch of chocolate is melting, undo one of the packets of wafers. Being a bloke, and not being able to follow written instructions, I nearly destroyed a whole pack trying to open them. Come on men, read the instructions – ‘tear here’ means exactly what it says! Don’t try and be clever and open any other way!
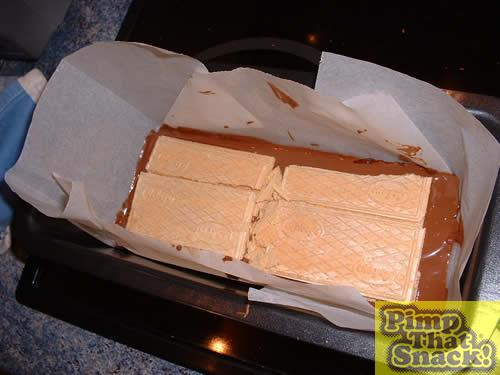
Once the second layer of chocolate is down and smooth, place the wafers on the chocolate as shown in the picture. I recommend 2 layers of wafers between each layer of chocolate. Please note, you may or may not need both packs of wafers but they do break easily – especially when creating the ‘half wafers’.
Continue this process of layering the chocolate with the wafers until you have 32 cubes of chocolate left. Use the last of the chocolate to create the top layer of the Riband – this will form the base in the end. Once the chocolate is all gone, put the Riband in the freezer overnight.
**WARNING** – it may look solid but the centre probably isn’t – leave overnight!!
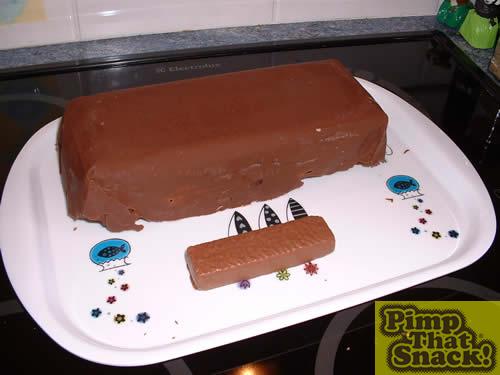
The Riband should come out nice and easy thanks to the grease proof paper which can easily be peeled away.
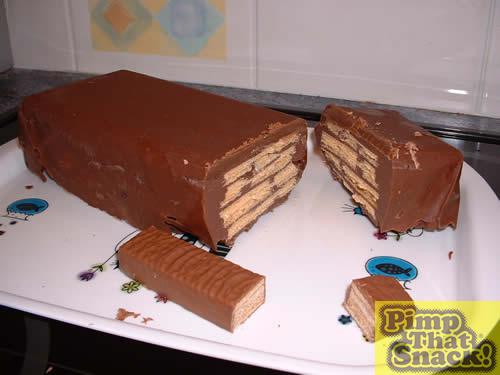
This shows a cross section of the type 2 diabetes inducing 4344 cal Riband compared to its little 99 cal brother. Note the different strata. It may not have any bling nut this is a serious, no nonsense, XXL B.I.G Riband and should be merited on it’s simplicity and ‘Daddy’ size alone.
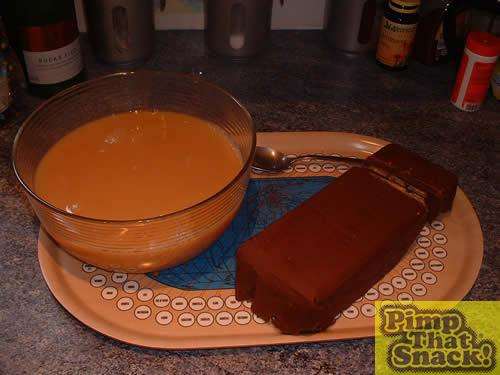
I couldn’t possible begin eating this monster without the aid of a super pimped up ‘cup’ of tea on my favourite tea tray!
Disclaimer:
I am not responsible for anyone who eats this Riband in one go. You WILL die. Choose life.

Comments