The Wheetabeast
Ingredients: 288 Weetabix!
Duration: 360 hours (15 days)
Construction:
Image 1: Grab a stack of Weetabix from a local supermarket. (Our Weetabeast managed to buy out the local Tesco for two weeks!)
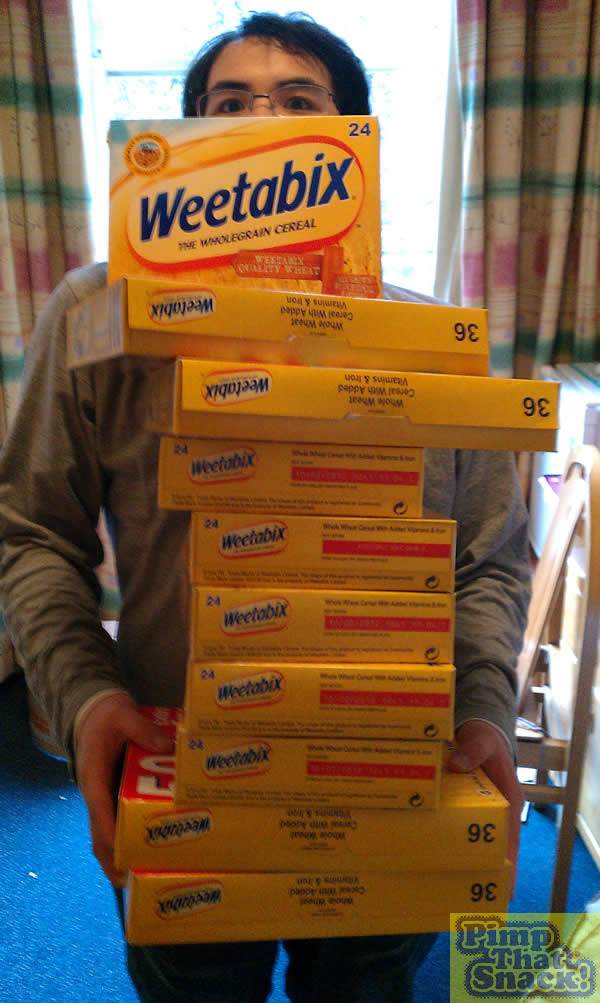
Image 2: Now get a cardboard box that you don’t need and design a mould for your oversized biscuit… Make sure the proportions are absolutely perfect or the whole thing will implode. (Ours was about a 6x scale up.)
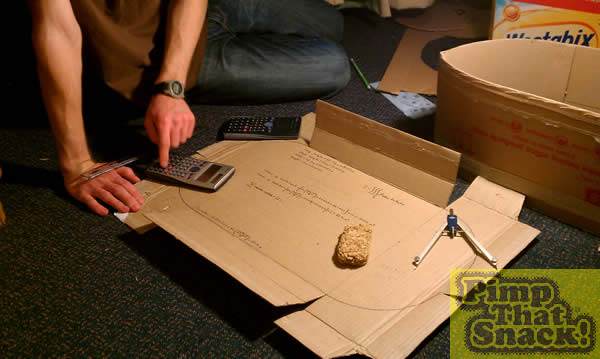
Image 3: Do a quick calculation to check the expected mass of the Weetabeast. (We underestimated ours a bit…)
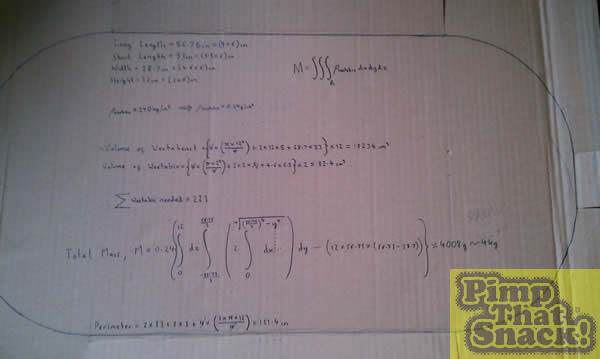
Image 4: Now erect the walls to fit around the base of the mould and don’t forget to draw lines on to tell you when to stop layering! Then waterproof the inside with cling-film and tape the whole container securely.
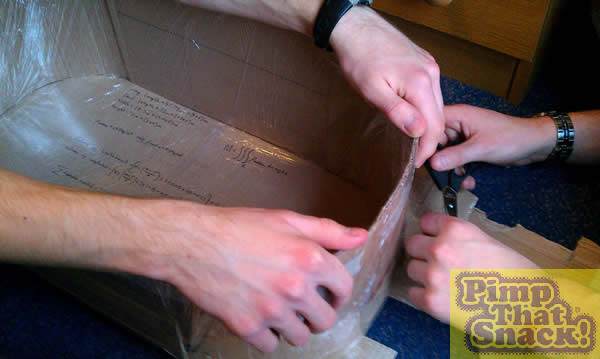
Image 5: Once the mould is strong and secure you are ready to do the first layer! Find a well ventilated, cool and dark place to store the beast’s lair and start crumbling in the first 24 Weetabix.
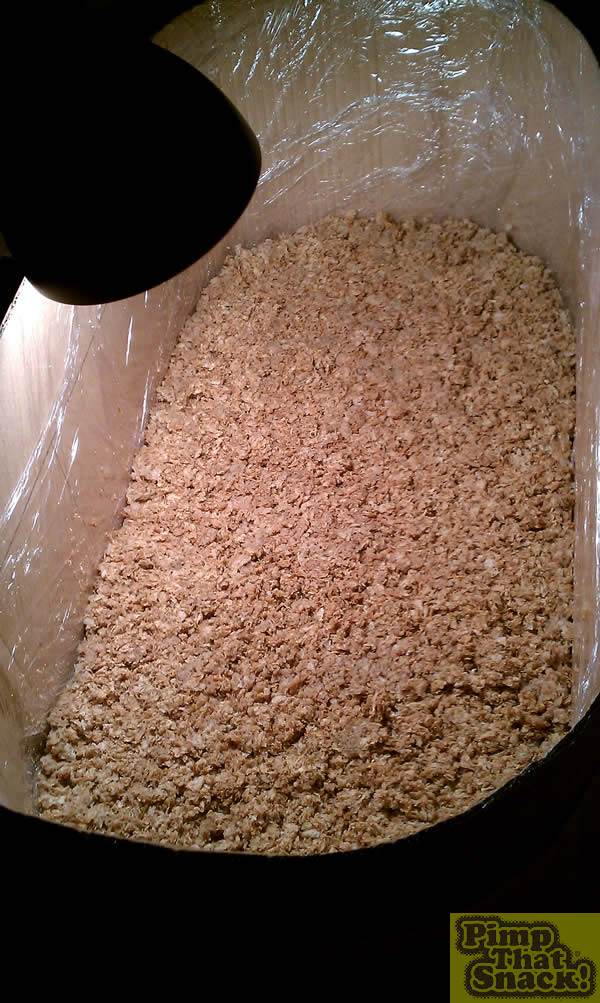
Image 6: Lightly dampen the whole layer so the wheat sticks together. (We just made a small hole in a squash bottle but if you have a spray bottle that would be perfect.) Now leave each layer to dry overnight and do not eat it no matter
how good it smells! It should take about 12 days of layering to complete.
Image 7: While you’re waiting for that to finish, have a go at making a pretty banner for the Weetabeast. We made ours out of old Weetabix boxes but you can be as creative or boring as you like. Don’t forget to put how many Weetabeasts are inside. We went with just the one this time…
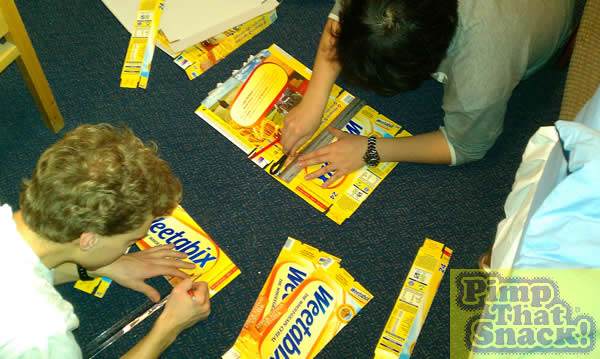
Image 8: Great, you’re halfway there. Almost done, now just hold back from eating for a few more days…
Image 9: While you’re sleeping the Weetabeast may develop a life of its own. (The farmer does look happy though…)
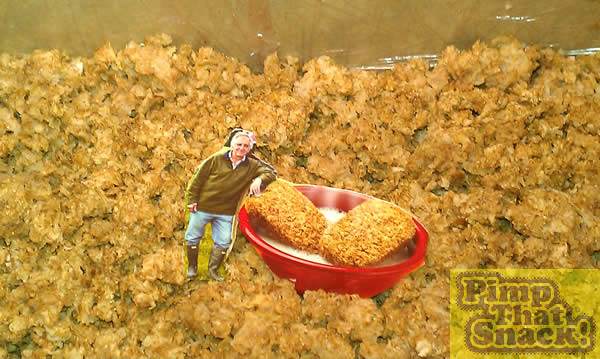
Image 10: The big day! Carefully cut off the walls of the container and peel off the cling-film to reveal the masterpiece; finally, a decent-sized portion.
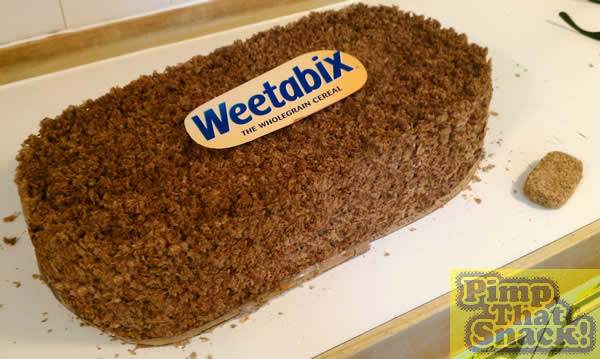
Image 11: Stick/staple the banner together and place it over the beast. Make sure it’s a tight fit so that it doesn’t look rubbish. The banner may be quite surprised at the size of your creation…
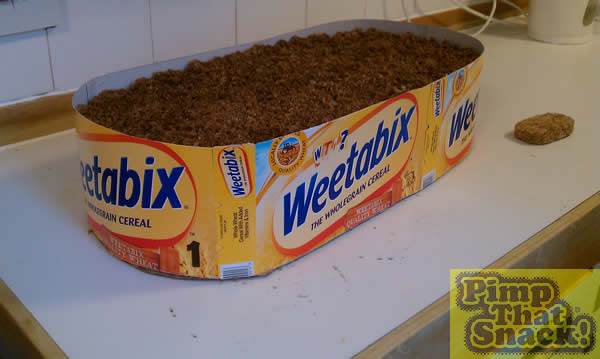
Image 12: Laugh at the size of a mere mortal Weetabix.
Image 13: Now pose for the photo-op, we went for the douchebag look.
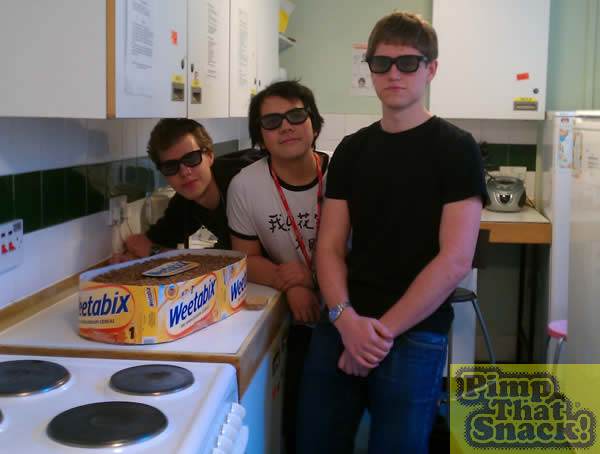
Image 14: Winning!!!