Smiley Face Biscuit
About this build
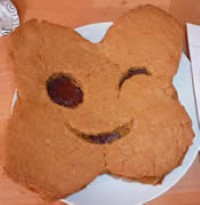
Two large shortbread discs sandwich jam and buttercream, with a smiling face cut into the top biscuit.
Archive summary updated
Read the original account and photographs ↓
What the original account establishes
These notes distinguish the recorded result from quantities or settings the contributor did not specify. Follow each source link to the original passage.
- Two bored students on a cold Sunday afternoon, a freshly cleaned student kitchen and a few simple ingredients, none measured, mixed into a goo and then something more appetising. A rolling pin was found, to their surprise, the dough rolled out and a clean plate, a luxury in a student house, used to cut the circle. The smiley face was cut by hand, the eyes made with a shot glass and the centre of one eye became the nose, stuck on with milk, with dimples added for cuteness. It went into the oven while a second biscuit without a face was made for the base, with no temperature or time given; jam and buttercream went between them. It took a couple of hours and a few pounds, fed 6 happy students and left ingredients for another project. Source 1 · Source 2 · Source 3 · Source 4 · Source 5 · Source 6 · Source 7 · Source 8 · Source 9 · Source 10 · Source 11 · Source 12 · Source 13 · Source 14
Notes from the contributor
Selected passages from the original account. Quantities may describe shopping, tests or the final build; follow the linked passage for its full context.
Starting point – take a freshly cleaned student kitchen, 2 bored students (not shown in photo!!), and a few simple ingredients.
Read in context →
After mixing ingredients into something a little more appetising, hunt high and low for a rolling pin!! (we were surprised to find one!!) roll out mixture
Read in context →
Archive guides · Explore projects
The original account
On a cold Sunday afternoon, after reminiscing of our childhood food likes and dislikes, and being students, having plenty of time on our hands, we decided to make a biscuit based on the ‘smiley faces’ biscuits. However, we could’nt just make normal biscuits, and so decided to make one big one instead!! Here are the pictures we took throughout or project.
Starting point – take a freshly cleaned student kitchen, 2 bored students (not shown in photo!!), and a few simple ingredients.

Start to mix said simple ingredients together, producing a delicious and appetising goo!

After mixing ingredients into something a little more appetising, hunt high and low for a rolling pin!! (we were surprised to find one!!) roll out mixture

Find a clean plate (a luxury in a student house!!) use plate to make circle in the cookie dough.

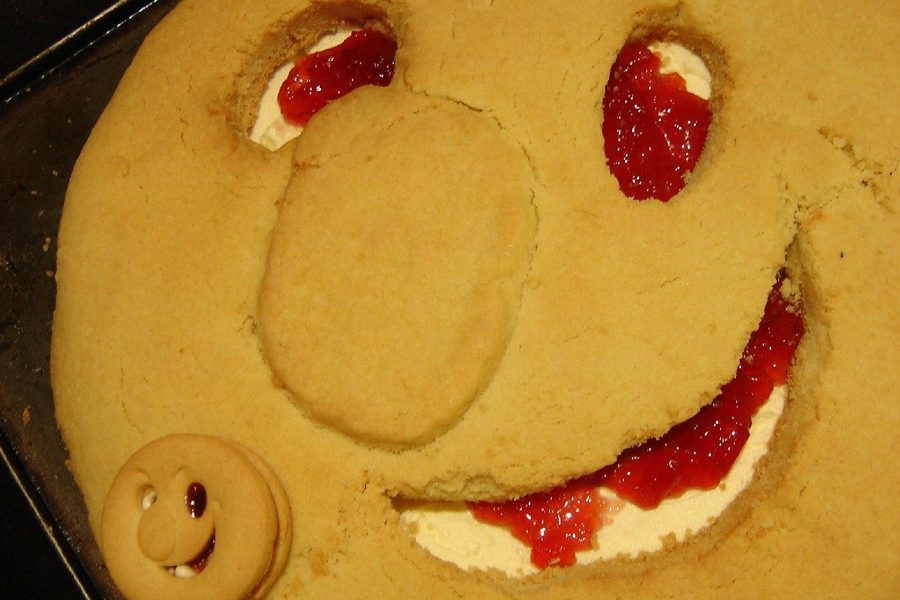
With an incredibly steady hand, cut a smiley face!!

using a shot glass (we appeared to have plenty of these!!) make eye holes, using the centre of one of the eyes to make the cut little nose (stuck on with some milk)

add and dimples to make extra cute!

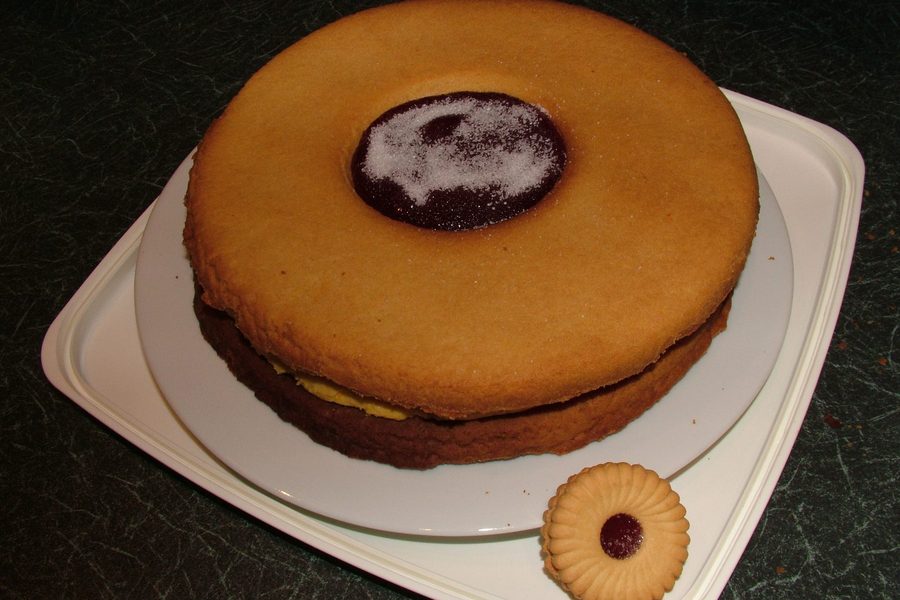
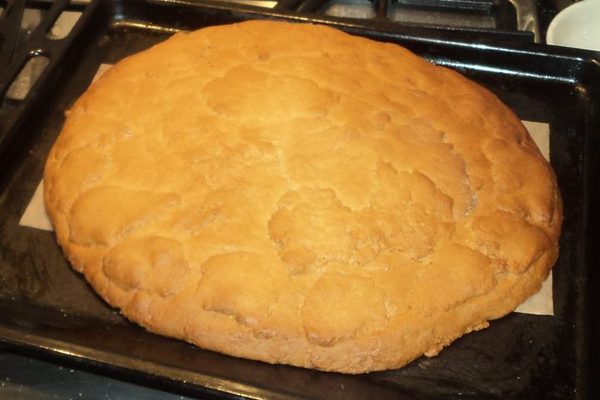
put in oven (whilst cookin make another biscuit, without a face for the base)

remove smiley face from oven when nicely baked

add some jam

add some buttercream

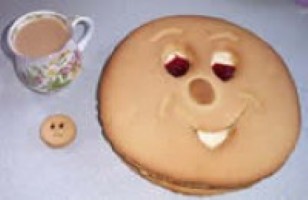
voila!! One extra large smiley face and 6 happy students!! (lol the smiley face won’t be around for very long!!) The little biscuits are there to show the size difference between our beauty and the shop bought snack!!
It took us a couple of hours, and only cost a few pounds and we even hove some ingredients left to try a new project!!