King Chocolate Finger
About this build
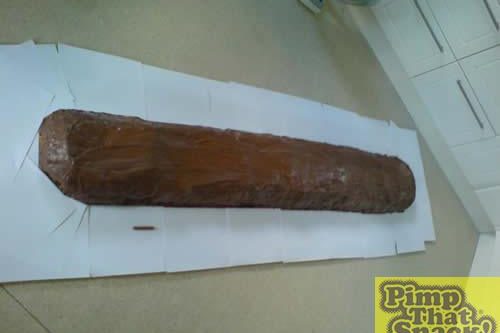
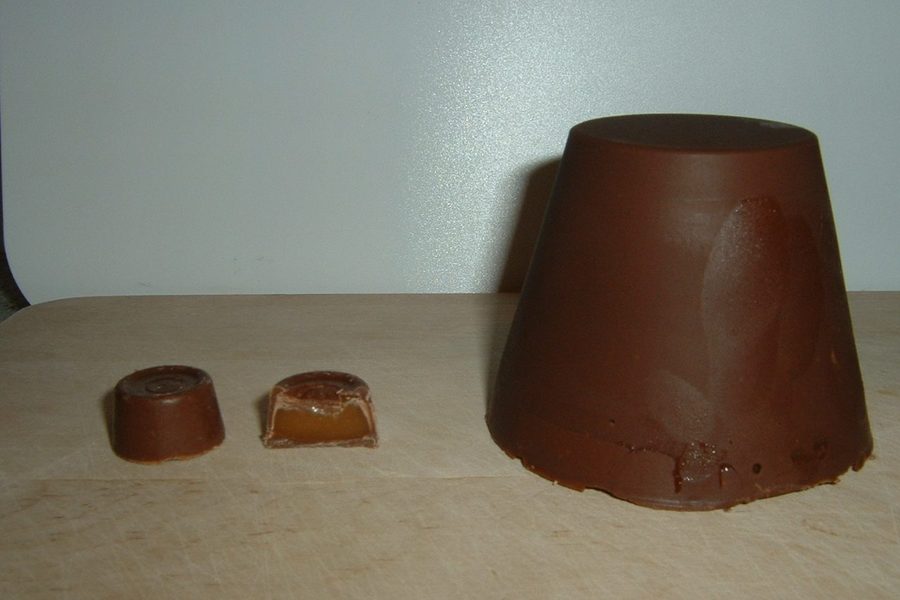
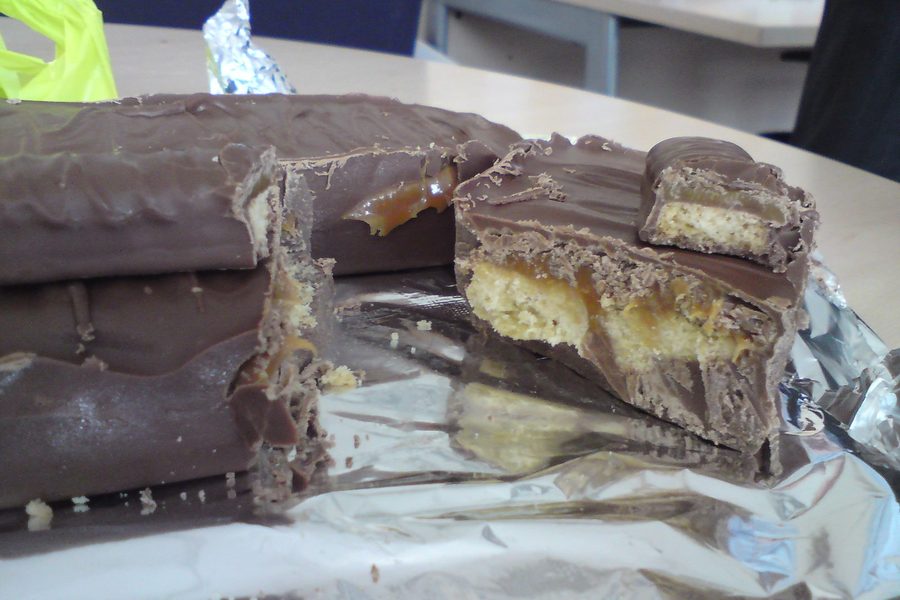
Large shortbread cylinders are baked, shaped and coated in Dairy Milk to recreate a giant chocolate finger.
Archive summary updated
Read the original account and photographs ↓
What the original account establishes
These notes distinguish the recorded result from quantities or settings the contributor did not specify. Follow each source link to the original passage.
- The shortbread followed Delia Smith’s recipe with ground rice in place of semolina and added baking powder, but the account records no quantities beyond 9 bars of Dairy Milk bought for the coating. Three dough cylinders baked at 150 °C spread into one; the second attempt was wrapped in baking parchment and baked for 2 hours, then left in the switched-off oven overnight to finish cooking. The cooked cylinders had still flattened, so each was cut in half to make six fingers of over a foot each rather than the planned 3-foot finger. Source 1 · Source 2 · Source 3 · Source 4 · Source 5 · Source 6 · Source 7 · Source 8 · Source 9 · Source 10
Notes from the contributor
Selected passages from the original account. Quantities may describe shopping, tests or the final build; follow the linked passage for its full context.
First stop was the supermarket to collect the necessary ingredients. We decided to follow Delia Smith’s Shortbread recipe as it looked nice and easy!
Read in context →
Step 1: Cream the butter. Nice and easy with the butter at room temperature. particularly with the current heatwave.
Read in context →
Step 5: Place the rolled out cylinders on the baking tray and whack them in the oven. 150c for about 2 hours.
Read in context →
We took measurements of a real chocolate finger (8cm x 1cm ish) and judging by the ingredients we’ve got, we reckon on a pimp to the power of 12 (mistake number 1)
Read in context →
Archive guides · Explore projects
The original account
So, we decide to pimp ourselves a snack. Only one problem, we’d no idea
what we wanted to do! After a few drinks we decided on a muffin. To cut
a long story short, it wasn’t a very good attempt (but it was still better
than the mega muffin! 😉
Take 2 was to do a chocolate finger. We’ll discuss what changes we made
to our plan on the hoof as we go.
Day 1:
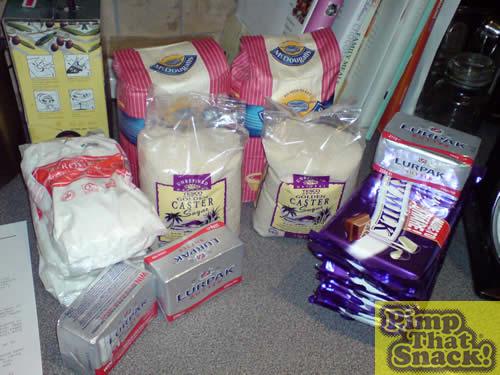
First stop was the supermarket to collect the necessary ingredients. We
decided to follow Delia Smith’s Shortbread recipe as it looked nice and
easy!
Shortbread Ingredients:
Lots of unsalted butter,
Plain Flour,
Semolina (we
actually used ground rice as it was all they had),
Golden Caster Sugar and
a pinch of salt.
We chose to deviate from the recipe slightly by adding
baking powder to lighten it up a little.
As for the chocolate topping. well, 9 bars of dairy milk should cover it.
Total cost £17.71 (Plus £1.07 in "research" material)
We took measurements of a real chocolate finger (8cm x 1cm ish) and
judging by the ingredients we’ve got, we reckon on a pimp to the power of
12 (mistake number 1)
The main problem with trying to make a 3 foot long chocolate finger is
that we needed to make it in 3 parts and then join them together once
they’re cooked. So that’s how we proceeded.
Step 1: Cream the butter. Nice and easy with the butter at room
temperature. particularly with the current heatwave.
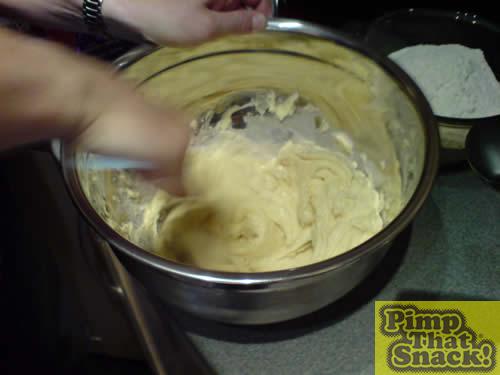
Step 2: Add the sugar. Self explanatory really.

Step 3: Add the rice powder, the flour and the baking powder and combine.
(This meant mixing like mad until all pimpers were left with no feeling
in their arms!)

Step 4: Roll out the dough in 3 separate parts using baking parchment to
create nice smooth cylinders. Yeah, it’s not just a hat rack, you know?

Step 5: Place the rolled out cylinders on the baking tray and whack them
in the oven. 150c for about 2 hours.

Step 6: Go back to step 1 because you realise that the cylinders have all
spread out and merged into 1. Darn it. This time, at step 4, wrap the
cylinders in baking parchment like Christmas crackers to stop them
spreading.
After 2 hours we realise that they’re still not cooked and by this time it
was quite late, and our pregnant pimper was moaning for her bed. So we
decided to set the auto-off timer on the cooker to turn off the heat while
we were in the land of nod, dreaming of oversized chocolate snacks. This
would be better we reckoned because the slow cooling down of the oven
would cook it through nicely. (and it worked out brilliantly)
Day 2 – 4:34pm in the King Finger house:
After unwrapping the shortbread cylinders we make the unhappy discover
that, although the shortbread was cooked to perfection, they had still
flattened out slightly. We were reluctant to start cooking more
shortbread, so instead we remembered the saying from an old Monty Python
sketch "Adopt. Adapt and Improve". This involved taking each of the
cylinders and we cleft them in twain (that’s cut them in half to my
pimping partner)
This would give us 6 chocolate fingers of over a foot in length. Quite
acceptable. But with such a reduction in size, we knew we’d have to
ensure that the finished article looked like the real deal, so simply
spreading the chocolate on was out of the question. We needed to ensure
we overdid our attention to detail.

Step 1: Cover the biscuit in chocolate and make it as smooth as we
possibly could.

Step 2: Freeze it.
Step 3: Using a hot knife, trim the excess chocolate from around the
base. Feed these bits to the pregnant pimper, waste not, want not.

Step 4: Using the same knife, scrape the high spots down so make it as
flat as possible.
Step 5: We took some kitchen paper, dipped it in hot water and smoothed
out the surface.

We’re sure you’ll agree that the final KCF is indeed a dead ringer for
it’s little brother and is a pimp to behold.
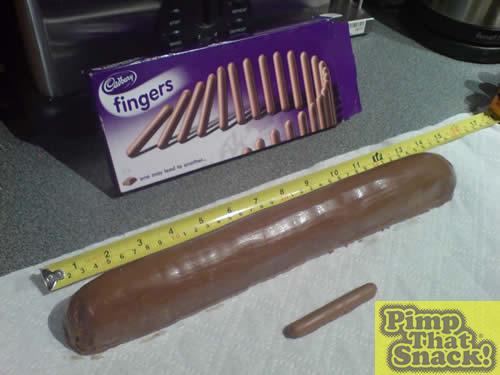
Oh, and for the record, it tasted great!