The Rubik Cake
Introduction
I am a fan of the Rubik cube. I first got a cube as a 12 year old in England back in 1980 and have been hooked ever since. At my local pub there was a competition for the gentlemen who were regulars to bake a cake. The prize would be awarded on presentation, creativity and taste.
It was my wife’s idea to combine my love of the cube with cake making and so was born – The Rubik Cake.
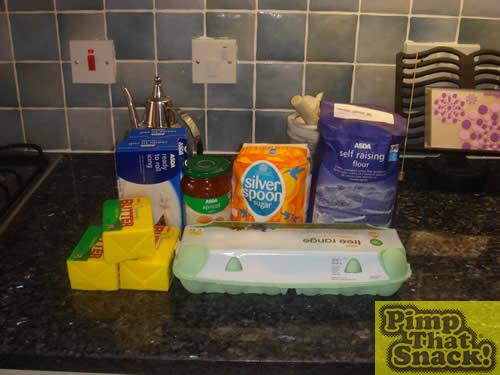
I decided on a simple Victoria sponge cake covered with coloured icing sugar.
Ingredients:
9 eggs
18oz butter
18oz self raising flour
18oz caster sugar
1 jar apricot jam
2 boxes of royal icing
1 black liquid coloring
1 red liquid coloring
1 blue liquid coloring
1 yellow liquid coloring
Box of icing sugar
Total cost: £11.94
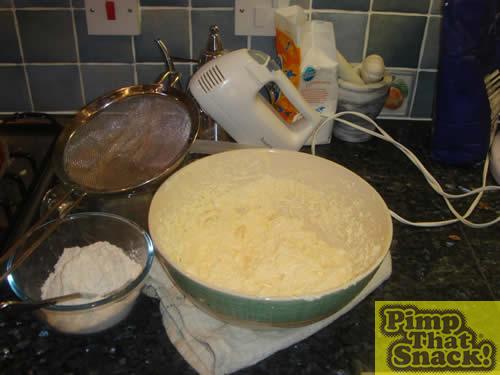
I only had one tin which was suitable. I decided that I needed three layers, each being 120mm by 38mm to form my cube. The extra 6mm came in the form of two 3mm fillings. I made the cake mixture using the normal Victoria sponge method. Of course each layer took an hour, with mixing cooking and cooling.
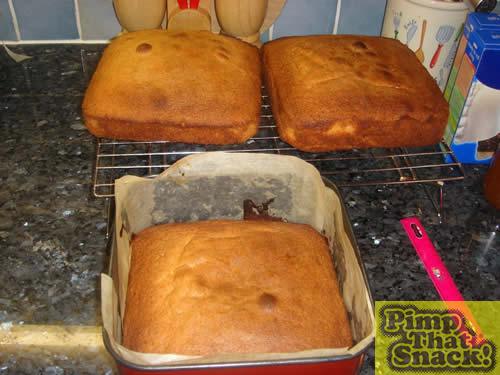
After 3 hours I had 3 layers suitable for my cube layers.
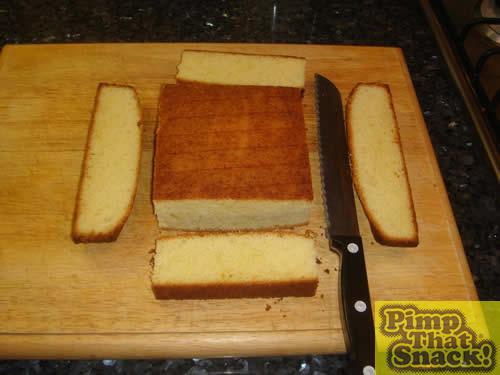
This was a tricky bit. I had to make sure that each layer was perfectly square. I made a template with a piece of paper and cut the edges off.

Next was the height. This was going to be hard. For the perfect cube look I needed the three pieces to be exactly the same. Luckily the icing sugar box was 38mm high so I used that as a guide.
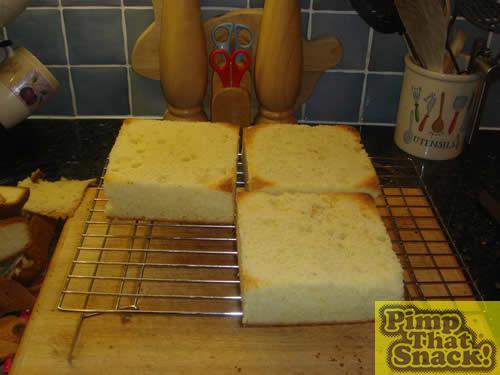
Three matching pieces.
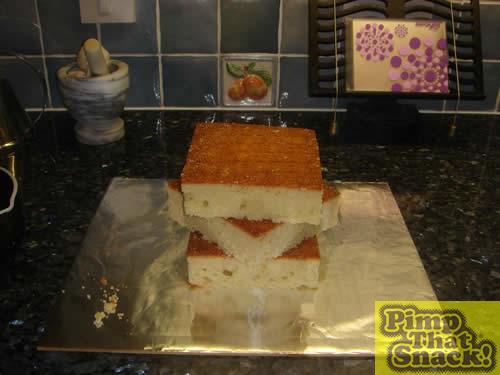
I wanted the cube to be displayed "in action". So I rotated the middle piece through 45 degrees and the top piece another 45 degrees. I used the apricot jam as a filling to add taste and help them to stick together. Perfect.
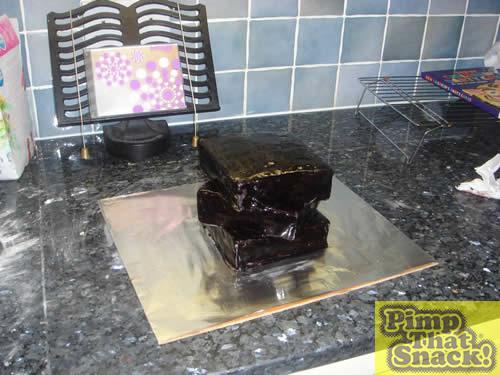
Next, the hardest part. I mixed the black liquid food colouring with some of the icing but it just turned grey. I really wanted a black covering, so I covered the whole cube in my grey icing. This turned out to be a bit of a patchwork job, cutting little pieces and sticking them on with melted apricot jam. I then used water to "weld" all the edges together. This whole process took about 2 hours. Once I had done that, I "painted" black colouring directly onto it and it produced a lovely blak finish. I then left it to dry as I did not want it to stain my tiles.
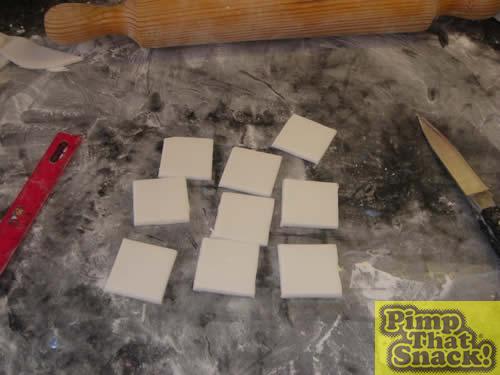
The tiles. I divided the remaining icing into 6 lumps and coloured them.
White – the icing was white already.
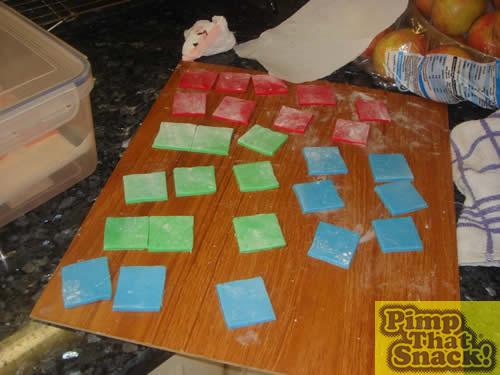
Blue, Yellow, Red and Blue were straightforward. Just add colouring and knead in. Keep adding and kneeding until the desired colour is achieved. Orange was a little tricky and involved a combination of red and yellow. Green was blue and yellow.
I then rolled each one out and cut into 35mm cubes.
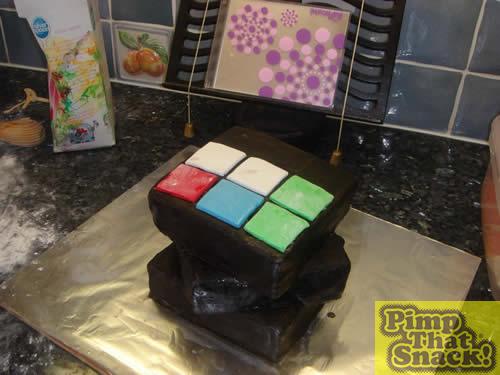
Now for applying the tiles. I got my cube and randomly scrambled it. I wanted it to be an authentic scramble. Each tile was easy to stick on with water.
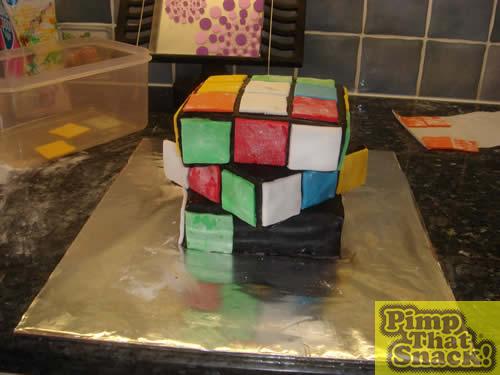
More tile application.
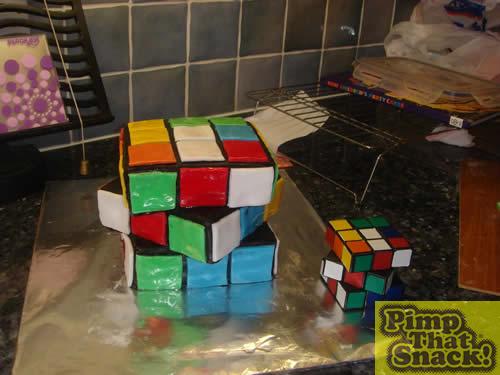
Once all the tiles were in place I brushed over the whole cube with water to clean up the icing sugar that was used to roll the icing.
Note real cube next to it.
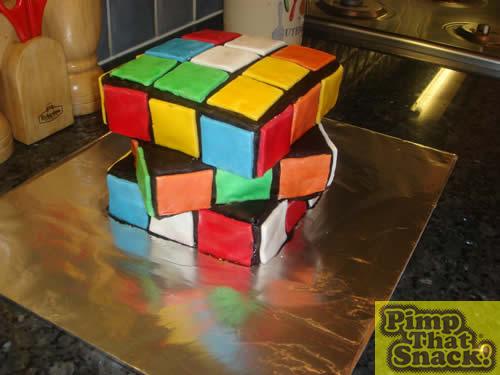
Once dried, it produced a lovely matt finish.
I won the competition beating 11 other cakes. At the end they were all auctioned off for charity and someone bought mine for £20 ($40) and then shared out to everyone in the pub, everyone got a minicube.